Anything But Crash
Summer 2021
To better understand the design decisions and challenges revolving propeller aircrafts, I decided that I would design, manufacture, and test a series of remotely controlled (RC) airplanes over the summer, starting with a normal trainer airplane. I also asked some friends to video document my entire process.

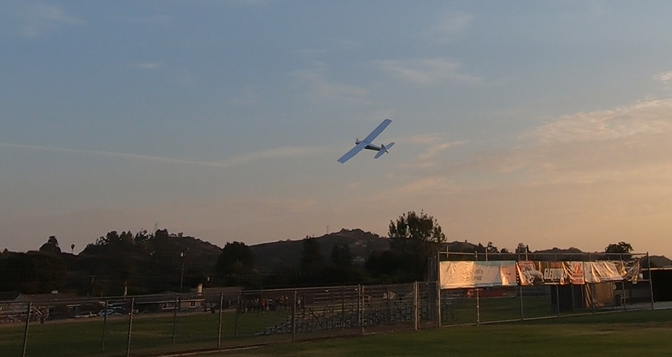
Cinematic Flying Shot
Design and Planning
Anything But Crash served as a proof of concept aircraft. Since this was my first project building an aircraft by myself from scratch, I wanted to prove that I could get something to fly before adding on complex pieces. Based off the Simple Torch by FliteTest and the Trainer Airplane by Joyplanes, I designed a single tractor motor and propeller aircraft which would serve to prove my flightworthiness.
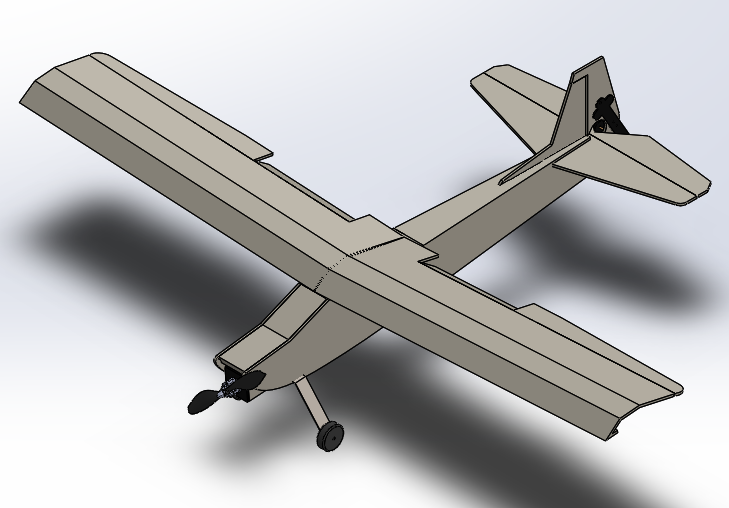
CAD Image of Anything But Crash

Key Mission Requirements

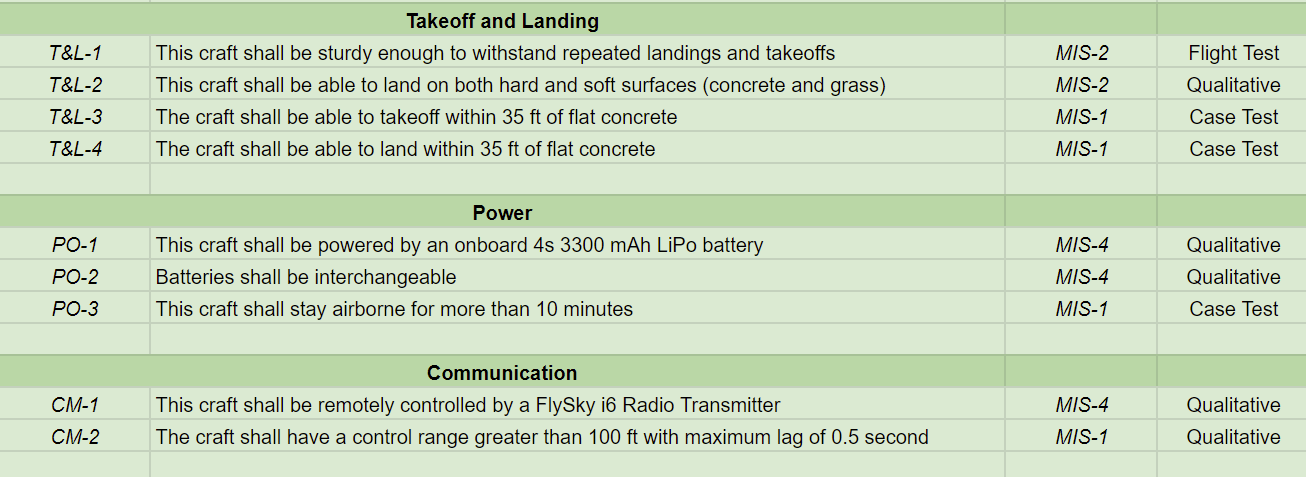
As the name suggested, my key goal with this airplane was to achieve a product that wouldn't crash. Additionally, I wanted to play around with all of the control surfaces that a large-scaled aircraft would have, including the ailerons, flaps, elevator, and rudder. I also wanted the plane to be medium-sized for easier scaling in future projects. In order to save up on costs, I recycled some components which I already had, such as the radio transmitter, battery, and propellers.
Before manufacturing, I CADed the aircraft in SolidWorks. The CAD was completed out of 28 parts, and took around 6 hours. The CAD package is included in the design package below.
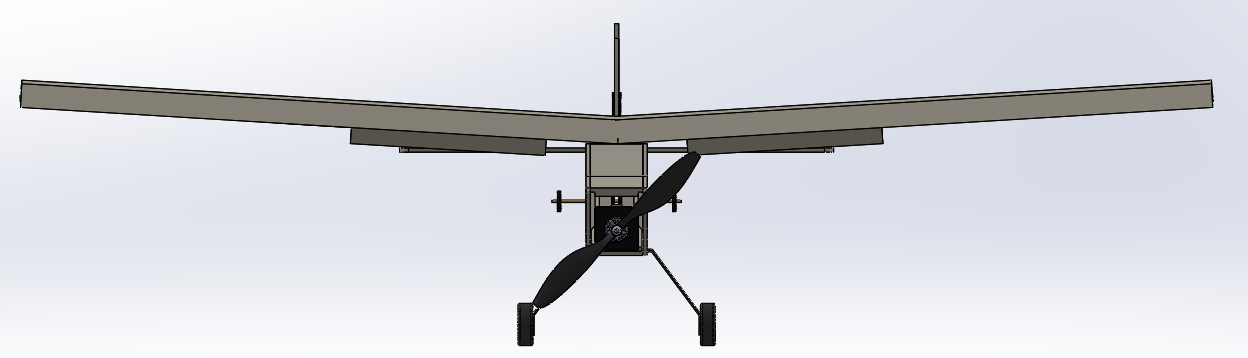
Front View
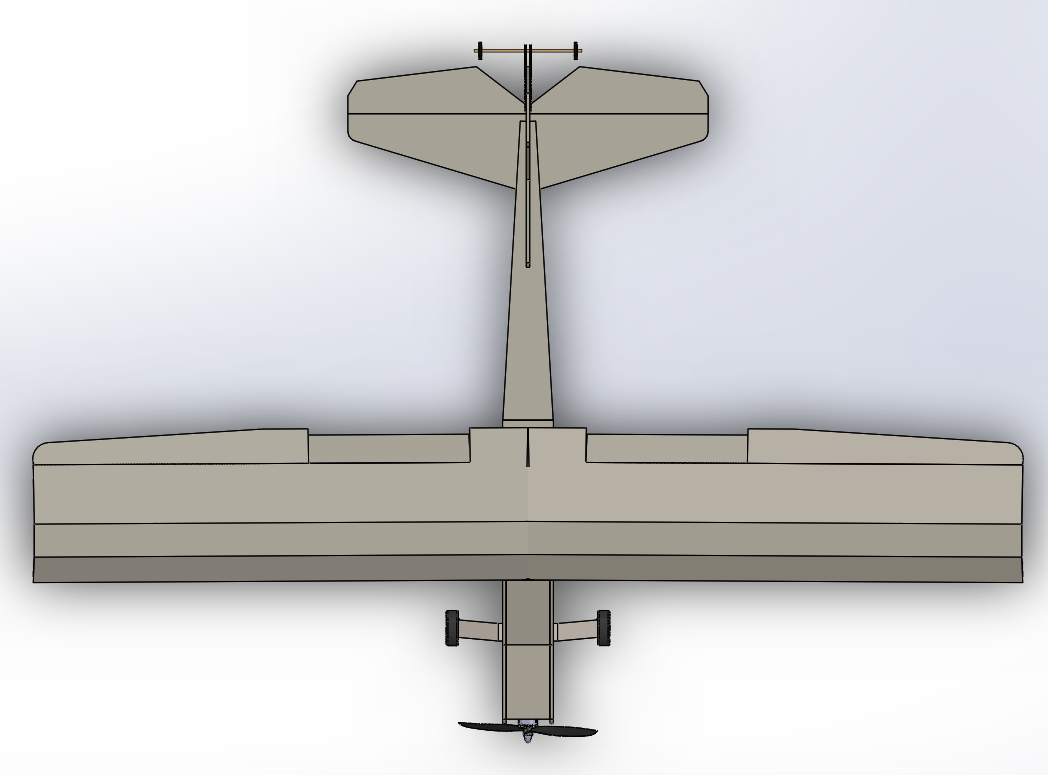
Top View
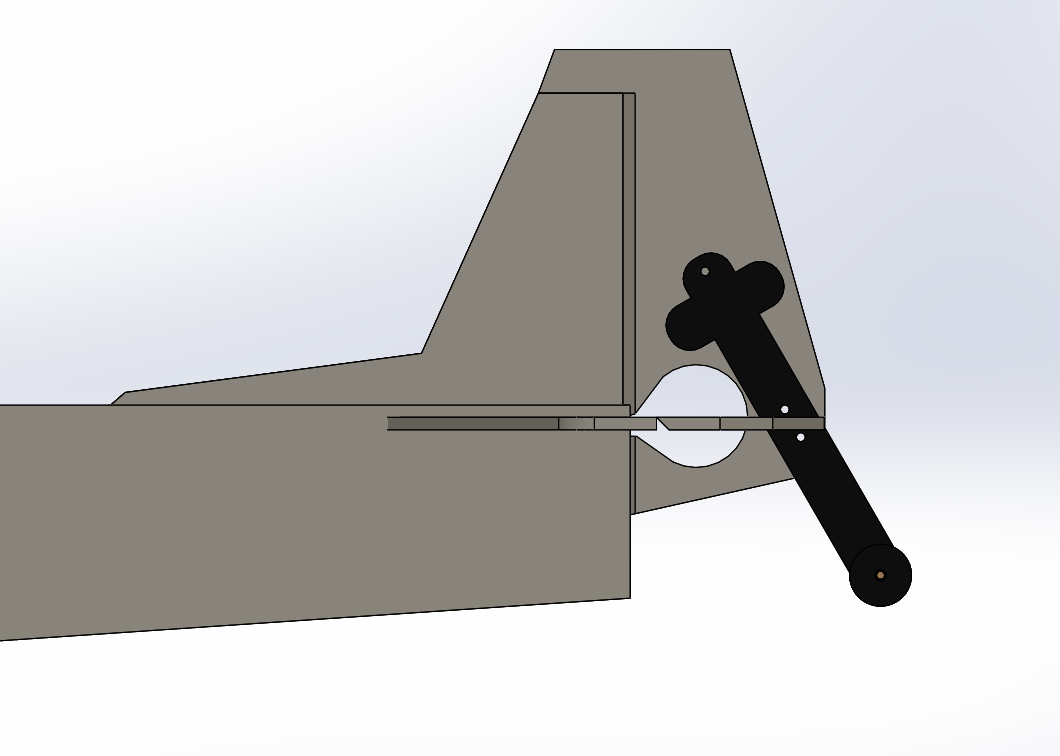
Tail Assembly
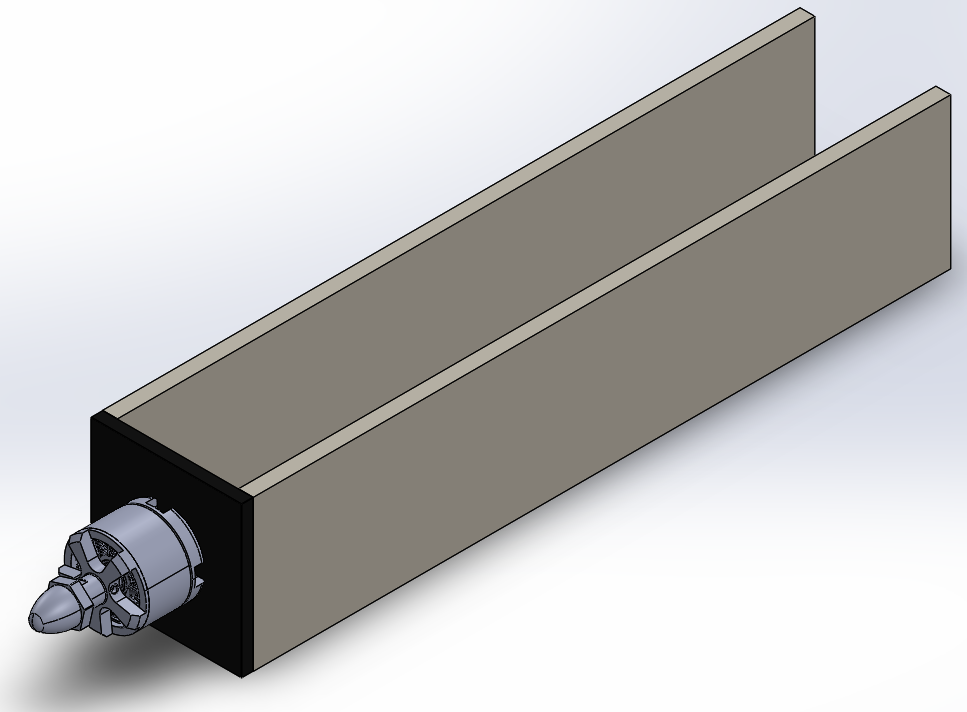
Motor Mount Assembly

Wing Assembly (Half)
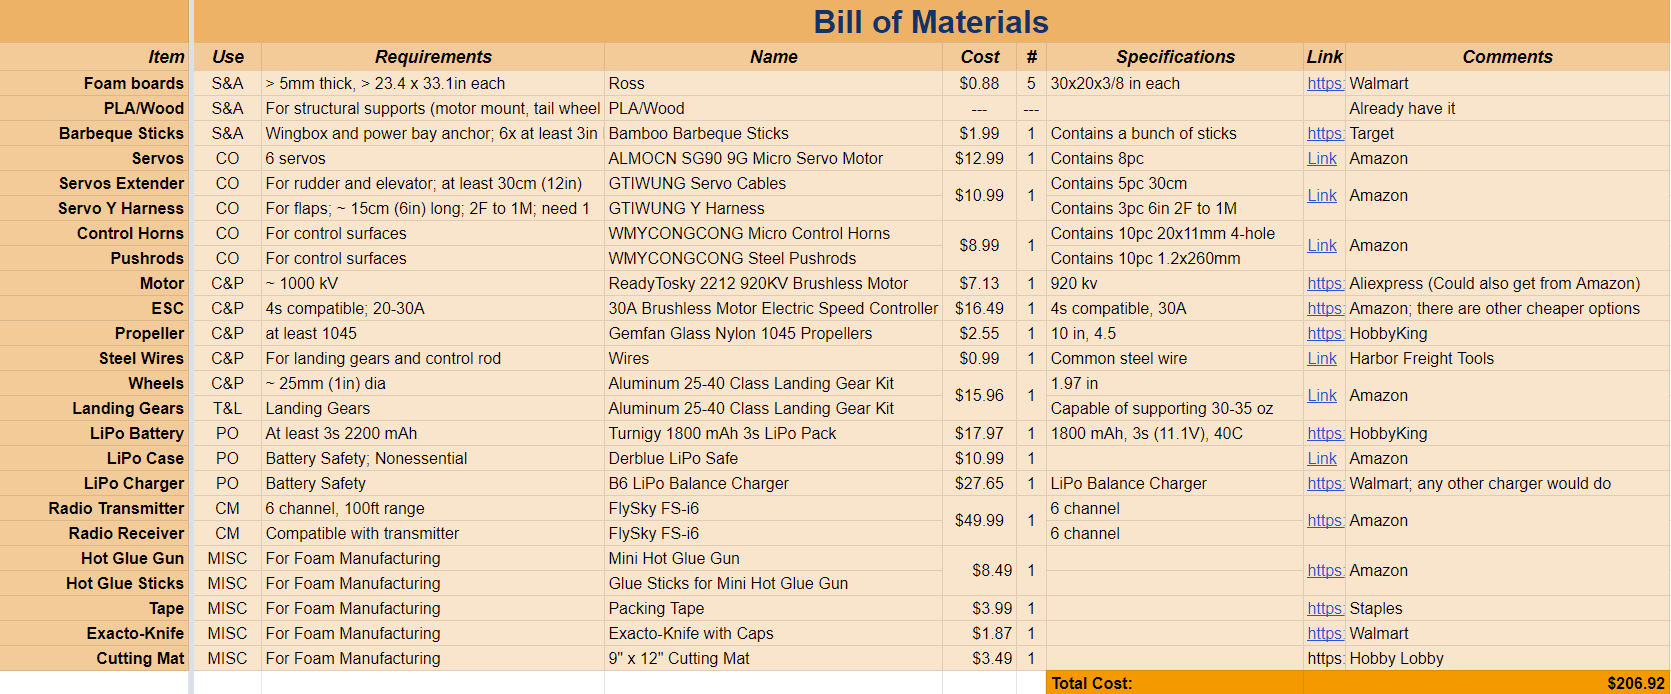
Bill of Materials

Electronics Configuration
One key goal for this project was also to gain a better understanding of the electronics wiring of an airplane. The 6 channel FlySky i6 receiver acted as a central hub of all the communication activities. The 6 channels were just enough to connect to the two ailerons, the flaps, the rudder, the elevator, and the motor.
Manufacturing

Key Materials and Tools
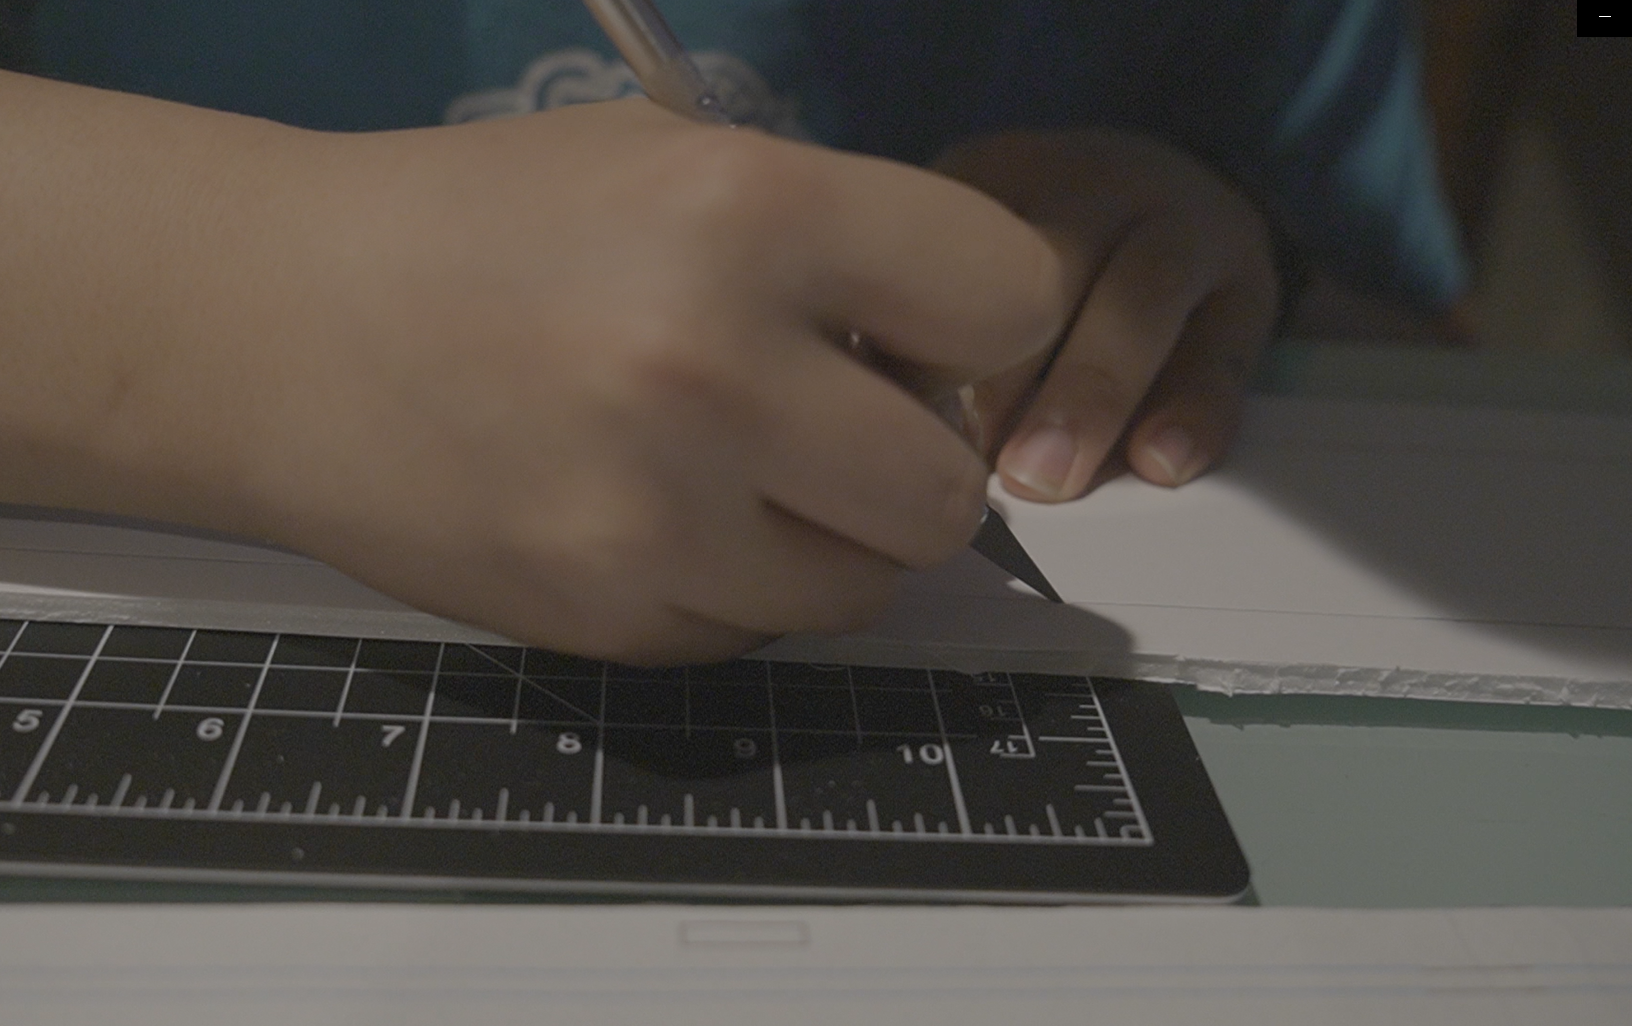
Cutting the Foam Board
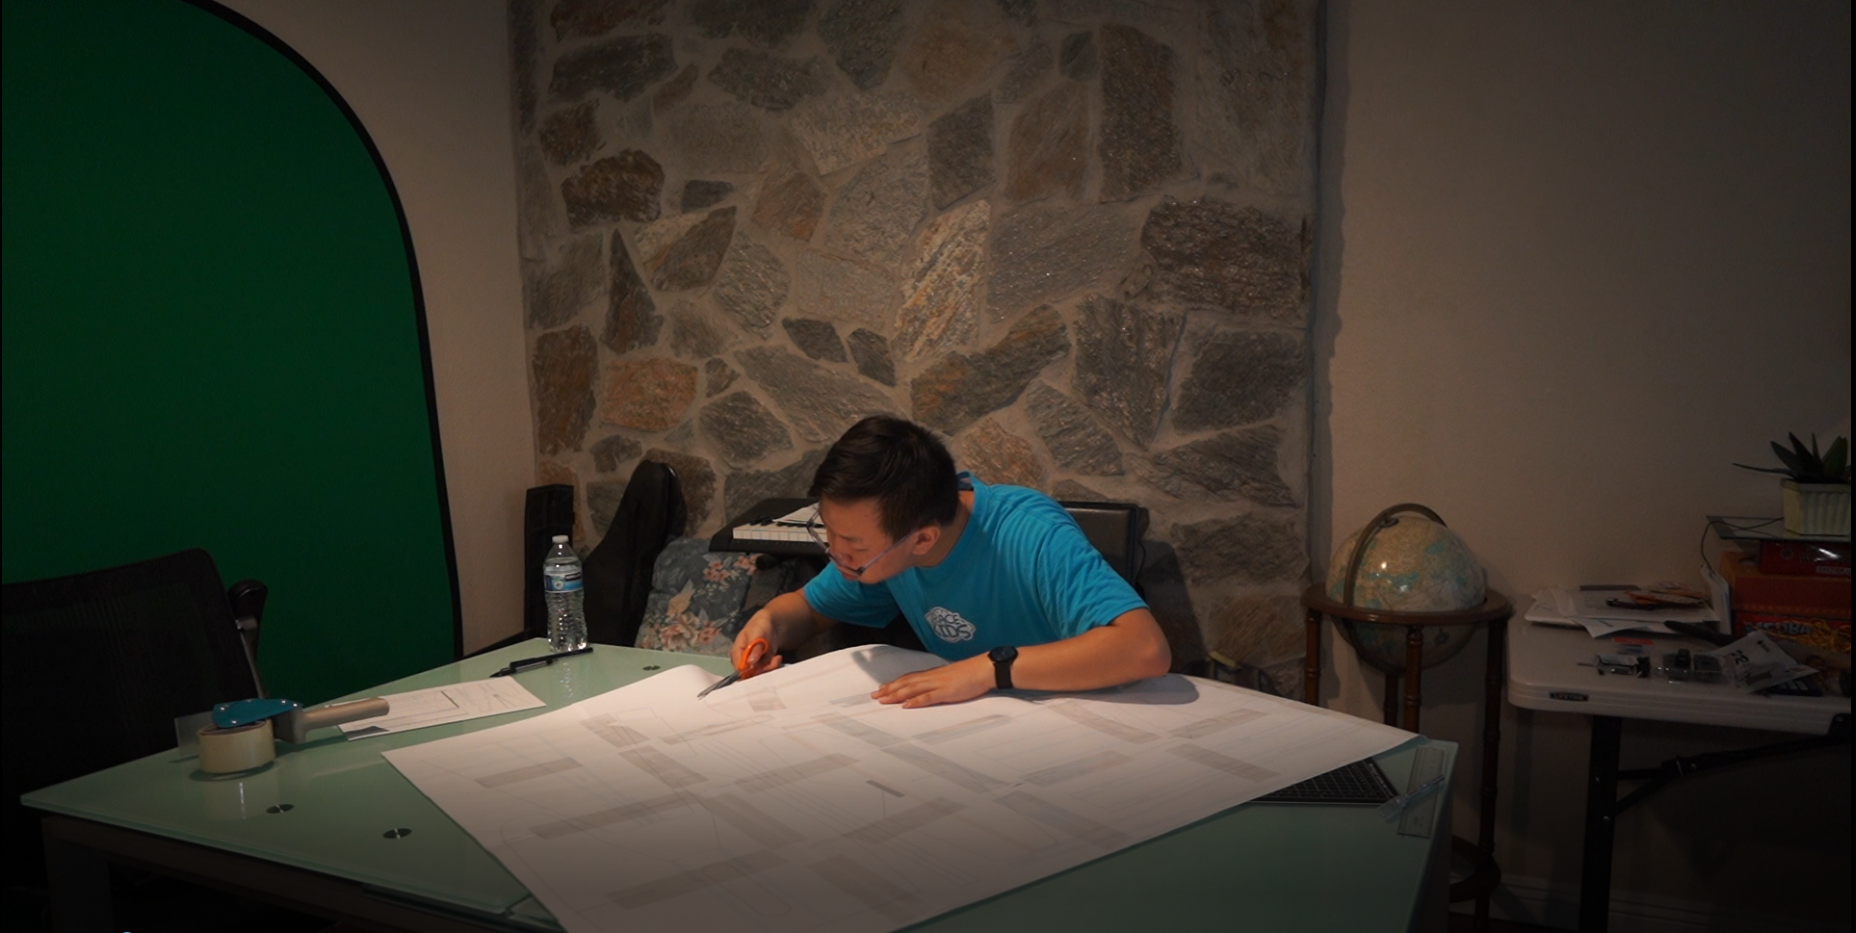
Cutting the Blueprint Drawing
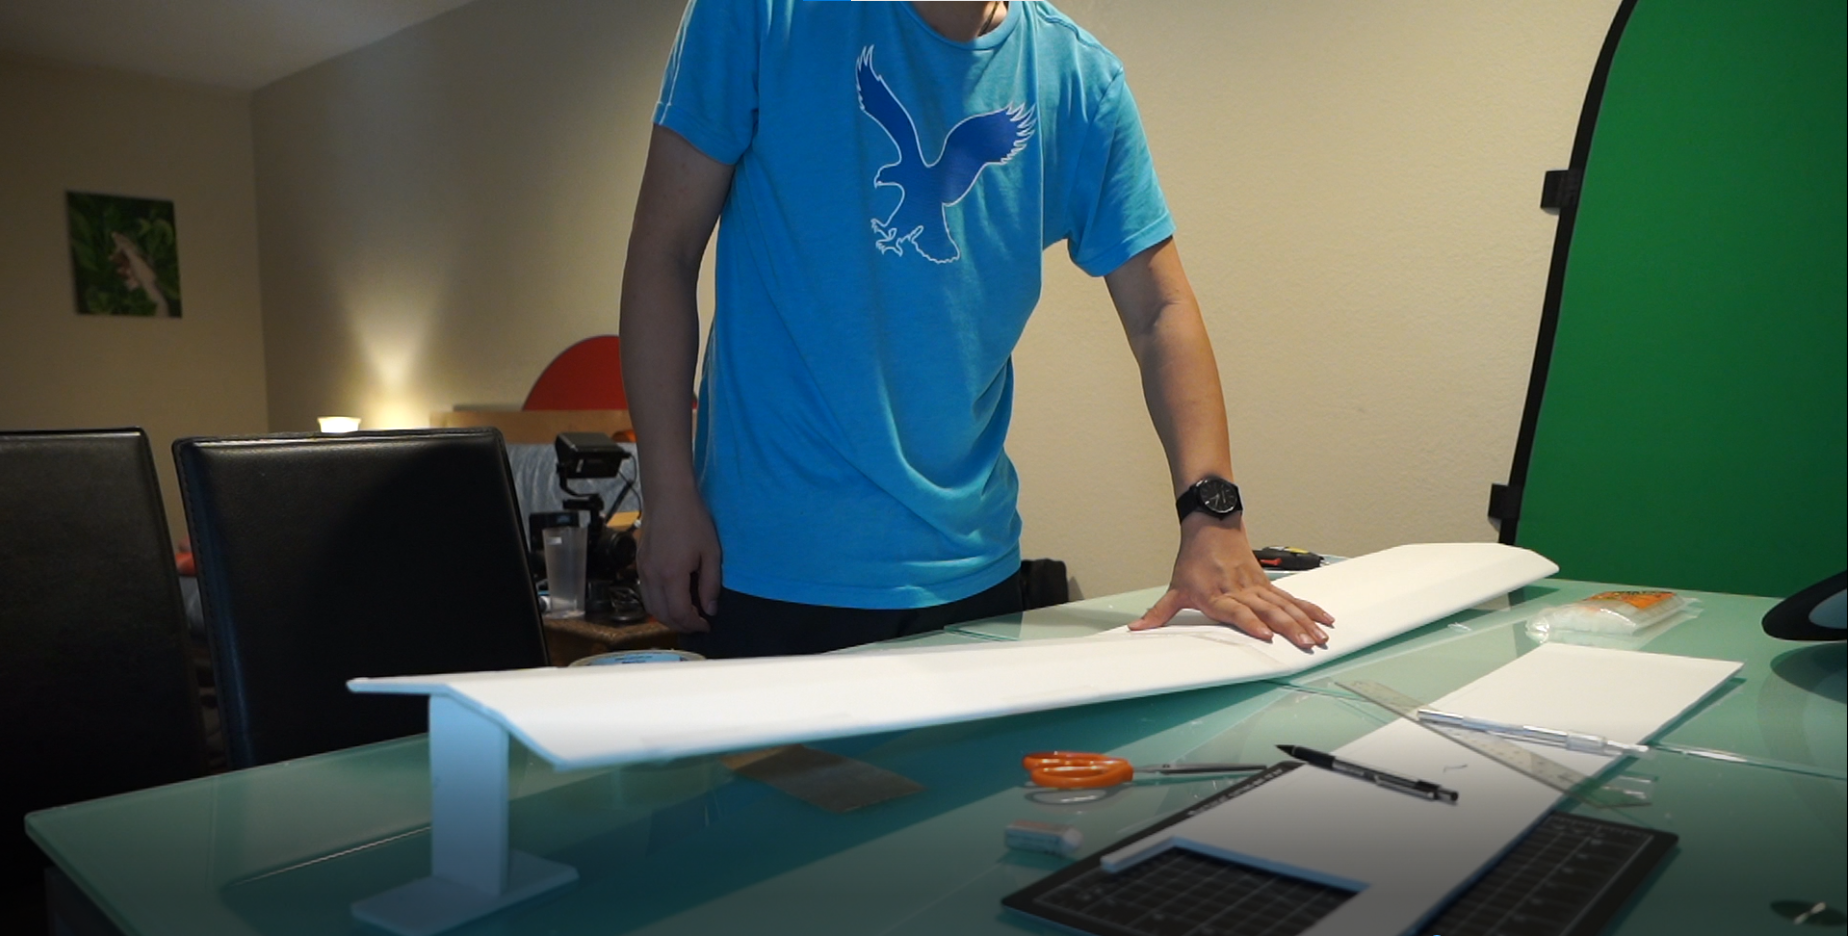
I started the manufacturing process by printing out and joining the 19 tiled pages of the blueprint, which is attached below. The parts on the blueprint were then cut out and fitted onto 3/16" foam boards. After using a pencil to trace the blueprint onto the foam boards, the aircraft pieces were then cut out of the foam boards using an exacto-knife. I used a mat to avoid scratching tabletops.
The cutting process took a lot longer than expected. But as I became more familiar with the exacto-knife, I learned that applying a continuous pressure and slow sliding allows smooth cuts. I also learned that sandpaper was a good tool to smoothen the outer edges of wing pieces.
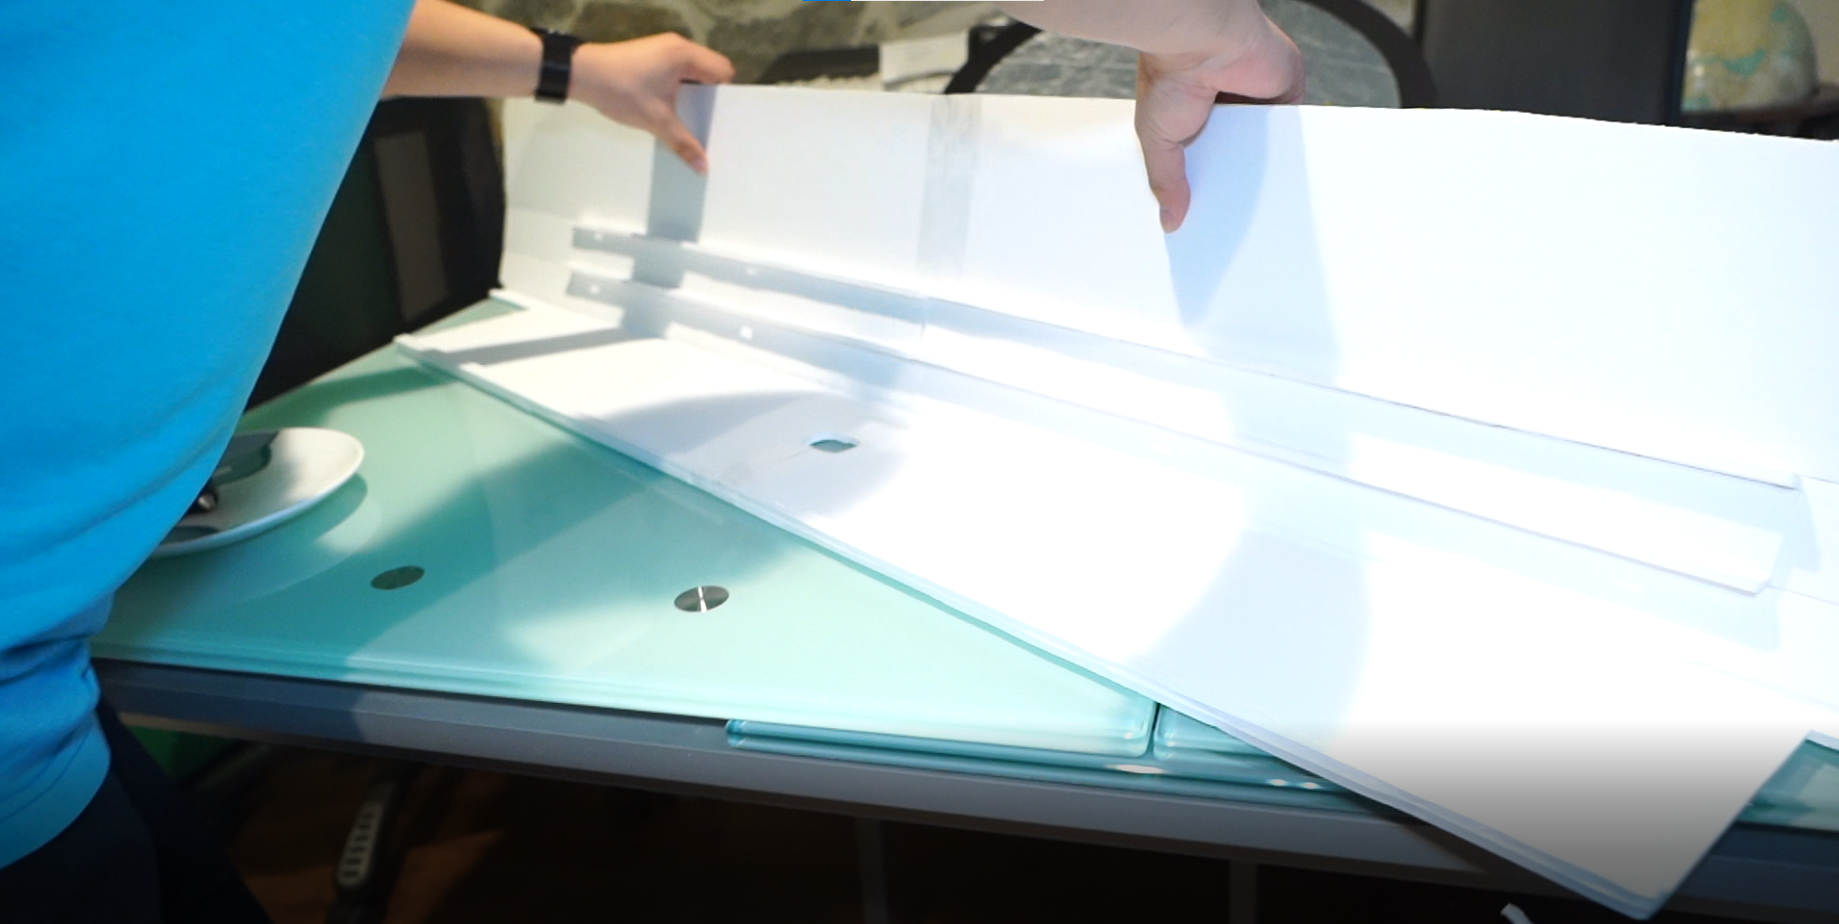
After cutting, the different foam pieces were assembled together using lots of hot glue and tape. The plane was taking shape! It looked really small in the CAD, but appeared giant laying on the table. Not all fits were perfect, but extra trimming and tape allowed proper joining of all the parts. This section of the build was really enjoyable as my vision slowly became reality in front of my eyes.
Gluing the Wing

Gluing the Fuselage
Creating dihedral for the Wing
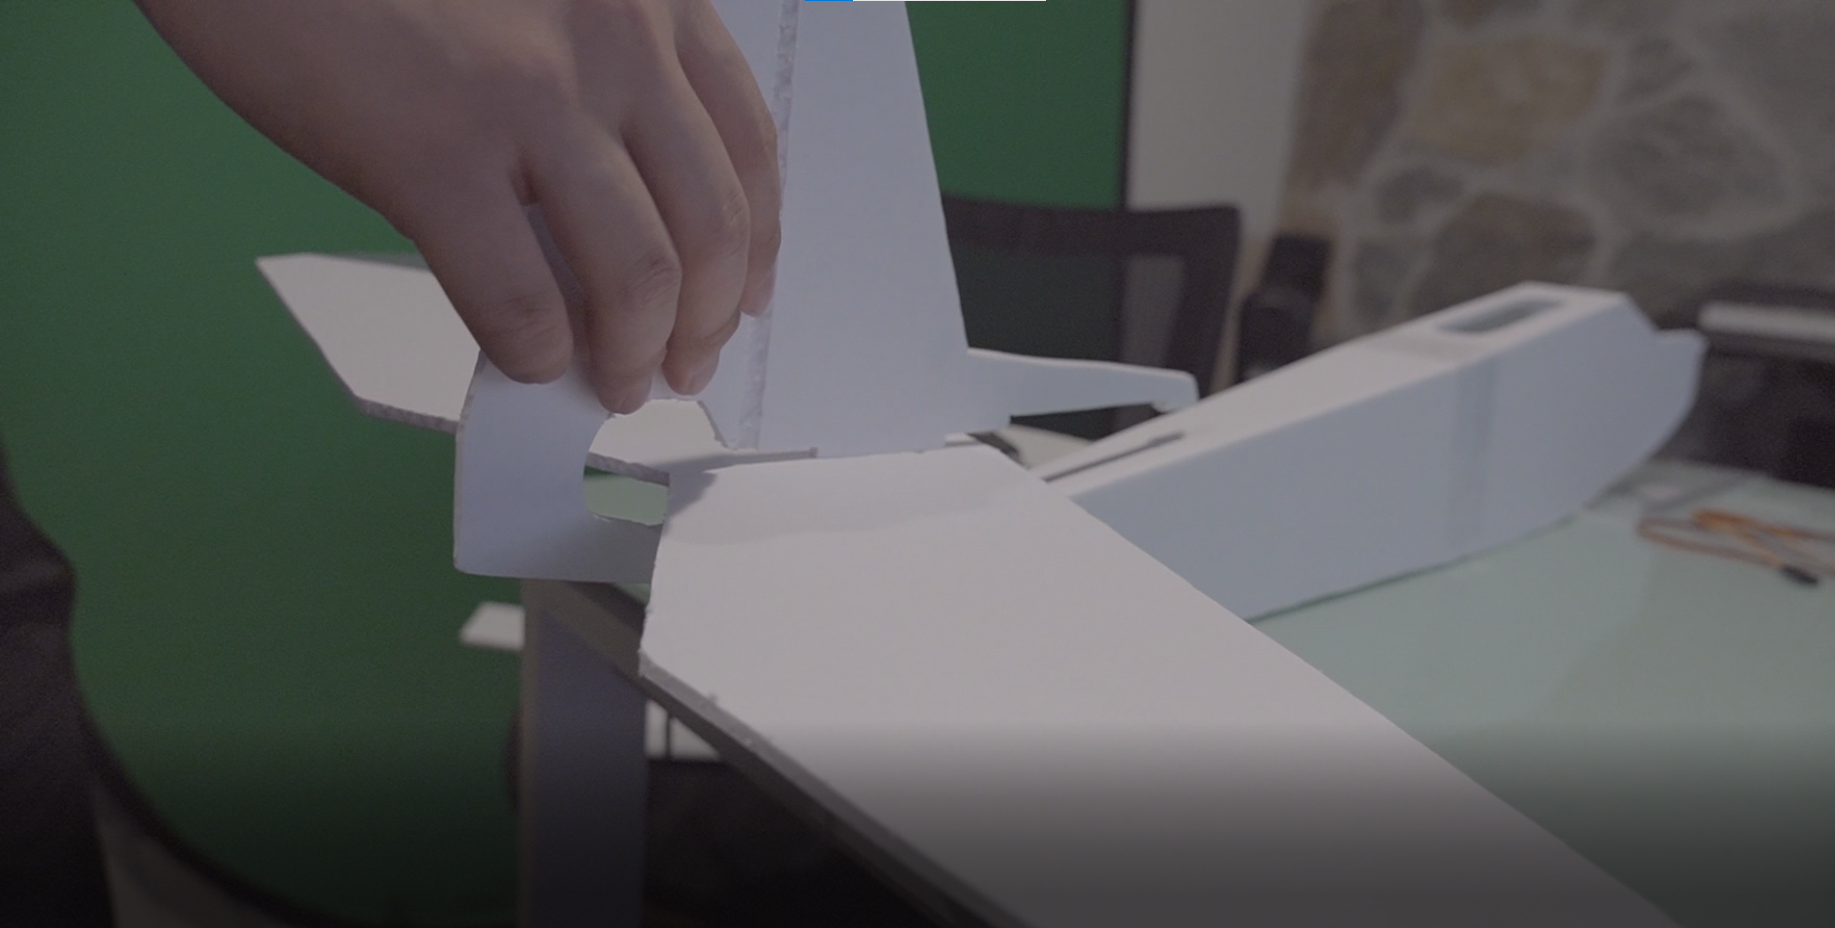
Gluing the Tail Assembly

Printing the Landing Gear Base
Several of the key structural pieces were also 3D printed out of PLA, including the motor mount, the front landing gear base, and the back gear set. The pieces were printed out of the cubic subdivision infill pattern with 40% infill to achieve higher strength at lighter density.
The electronics testing process was also exciting. I used an Arduino with a simple code to neutral the servos, then fitted the servos into their correct locations for ailerons, flaps, elevator, and rudder control. The servos were then connected to the receiver according to the electronics configuration I made in the planning stage. The servo arms were then connected via a metal wire to connect to the control horns. It was tedious to get the perfect length of wire, but seeing the control surfaces move by the flick of a joystick was extremely satisfying.
At last, the power bay was set up at the front of the aircraft, with the ESC tied and motor attached. A quick powered test showed that everything was working.

Arduino as the Servo Neutralizer

Assorted Wire Extenders

Control Servo, Control Rod, and Control Horn
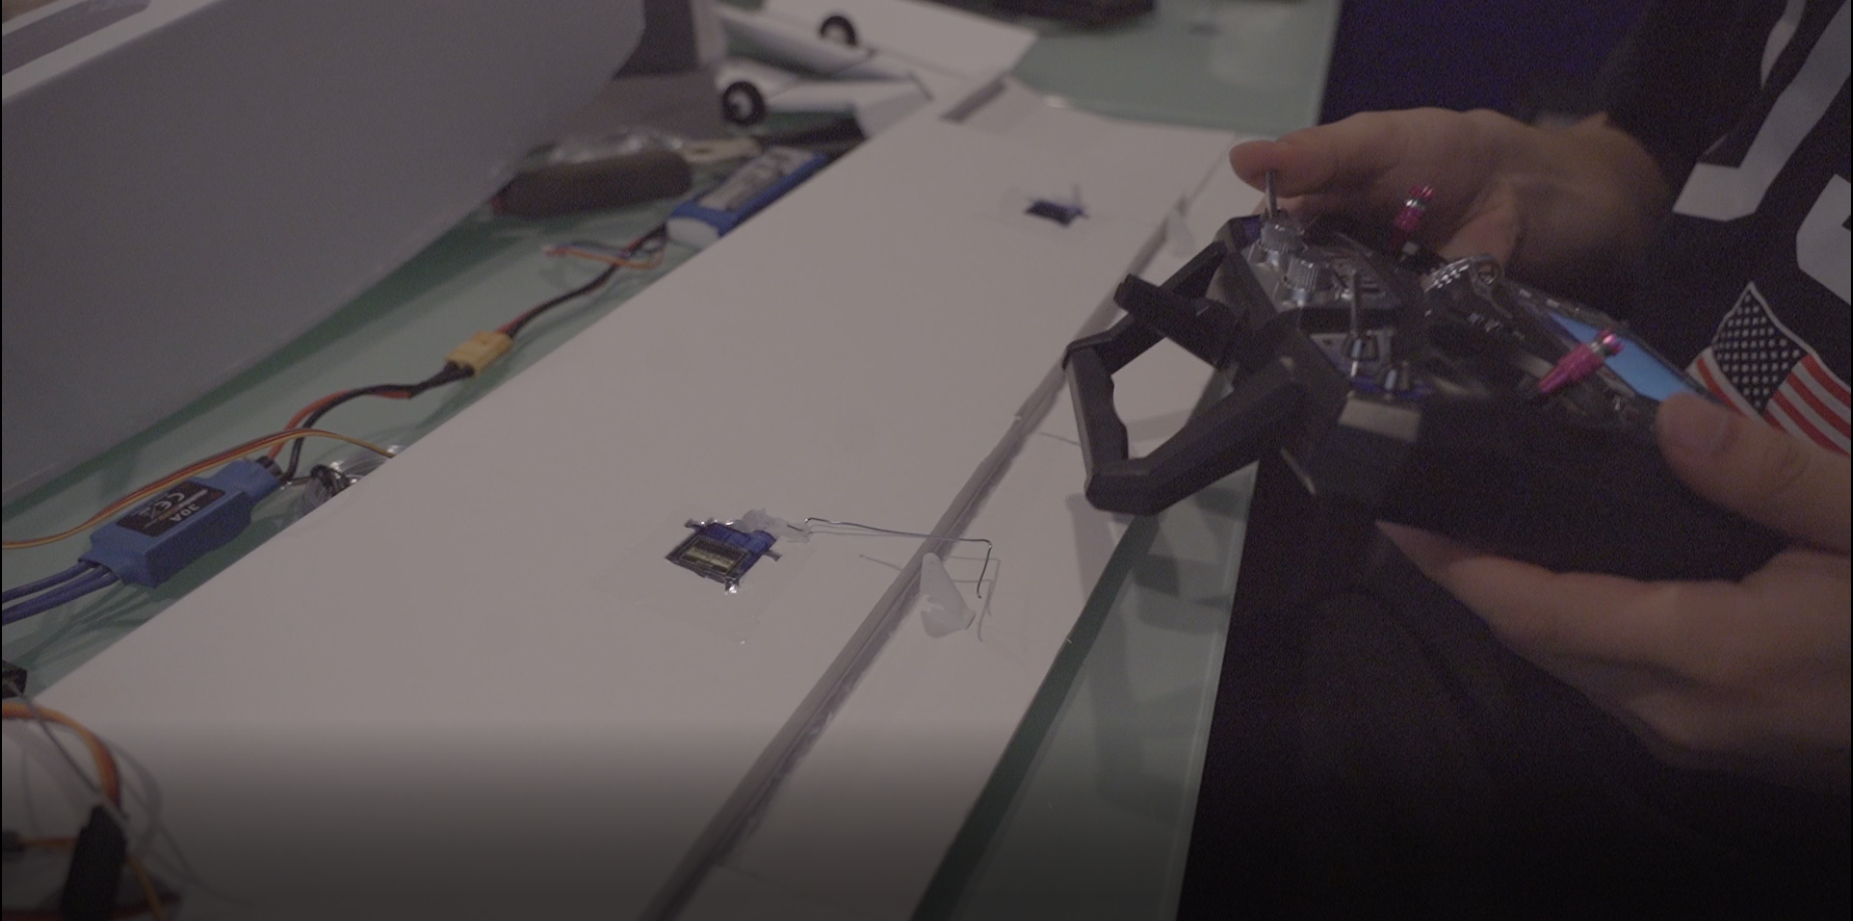
Testing the Control Surfaces
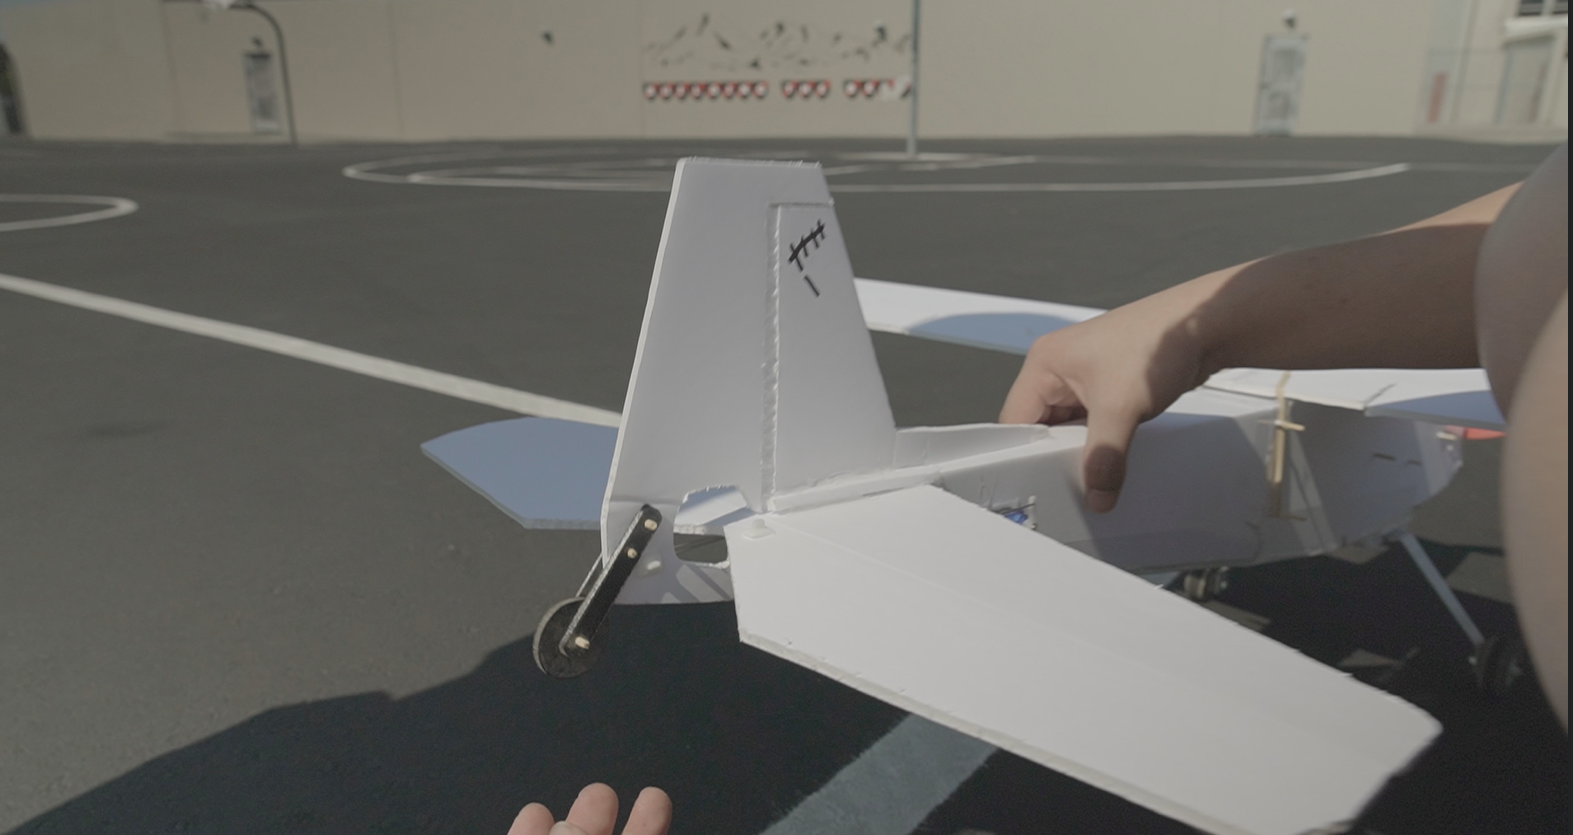
The airplane was ready. With a full wingspan of 5.5', length of 3.5', and weight of 27 oz (without battery), it looked majestic. So I charged up the battery and took it to the fields to fly.

Final Aircraft: Anything But Crash
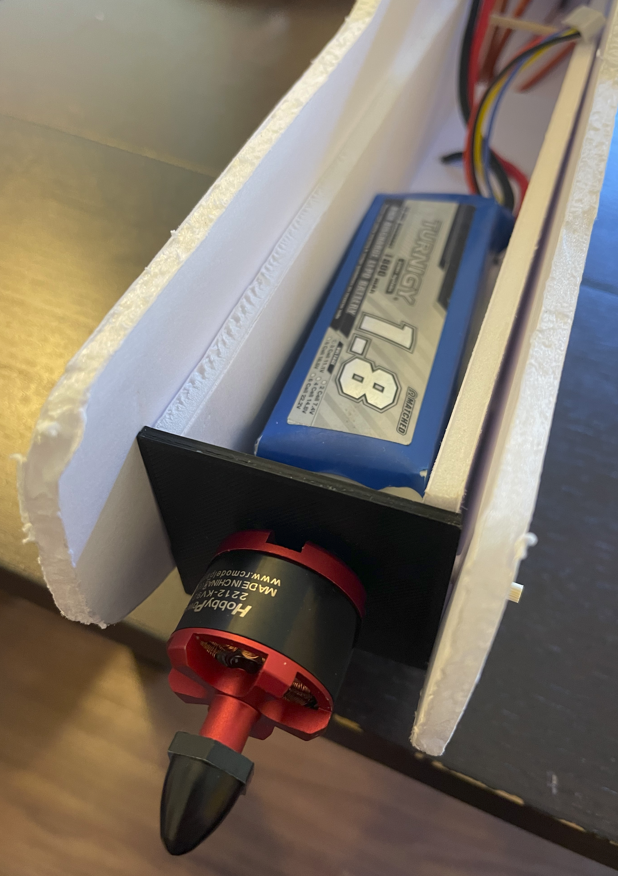
Motor Assembly
Crashing
It seemed that, despite its prophetic name, the aircraft Anything But Crash crashed plenty.
Back Landing Gear Bending
The first trouble came from the landing gears. The front landing gear wires were too thin to support the aircraft weight, so I exchanged the 1/8' steel wire with a thick aluminum frame. However, the back landing gear wheels kept bending, twisting, and tilting the rudder under the weight of the aircraft. Several repairs led to a foam shelled dual-wheel setup to limited success.
The faults of the landing gears led to hand launching the vehicle. This was also not easy, given I had no prior experience. Several crashes occurred due to poor release before reaching adequate takeoff speed, but eventually, Anything But Crash had its maiden flight.
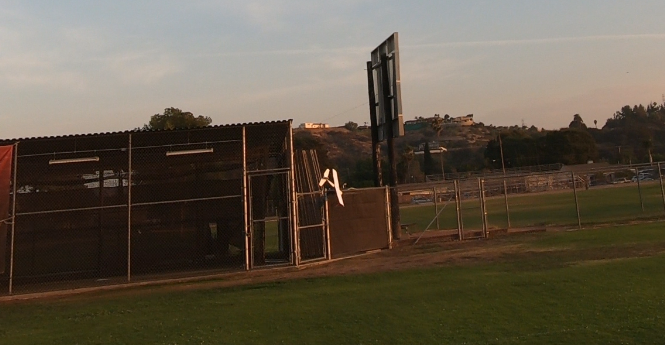
Crashing into the Fence
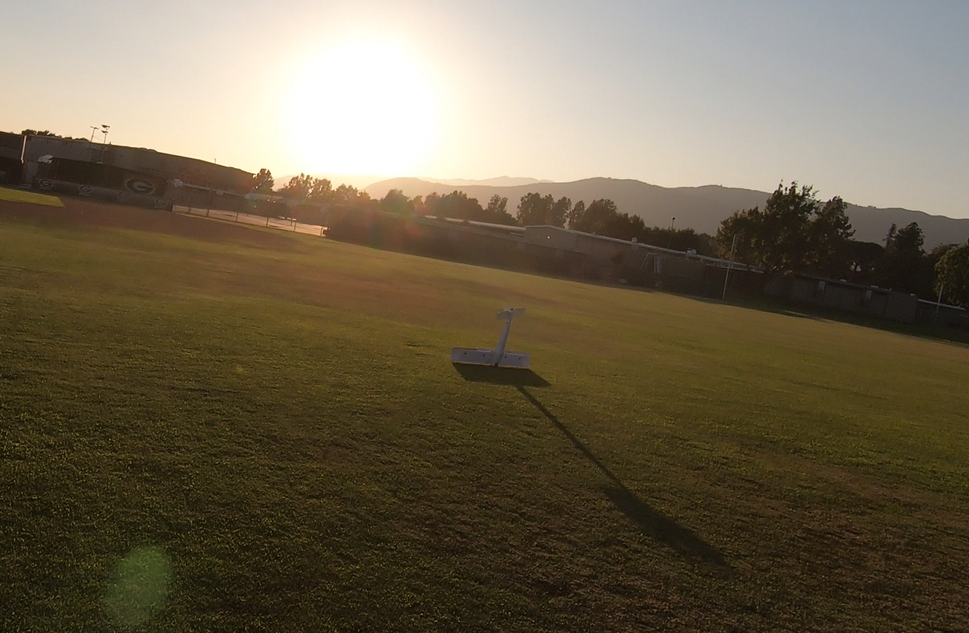
Crashing into the Grass
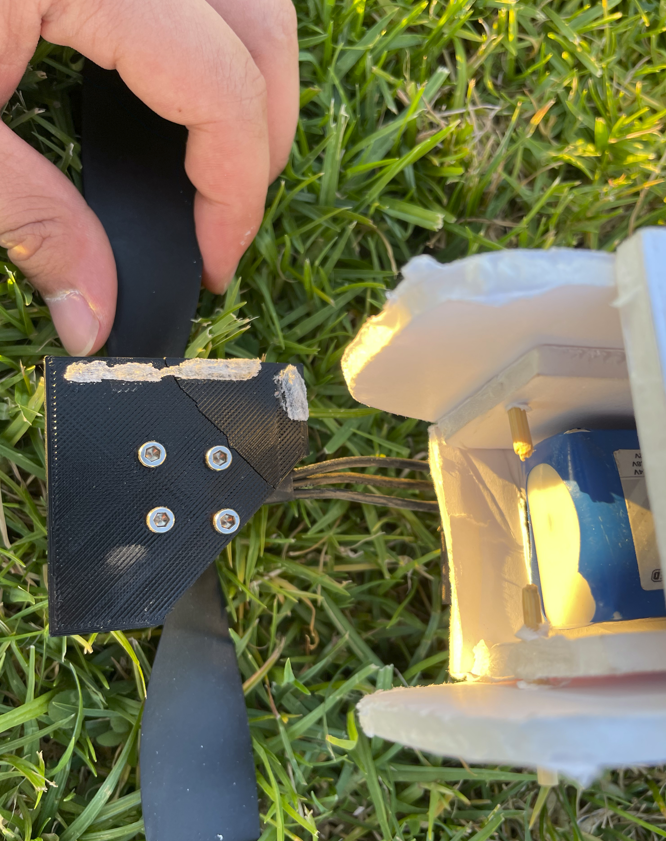
Broken Motor Mount
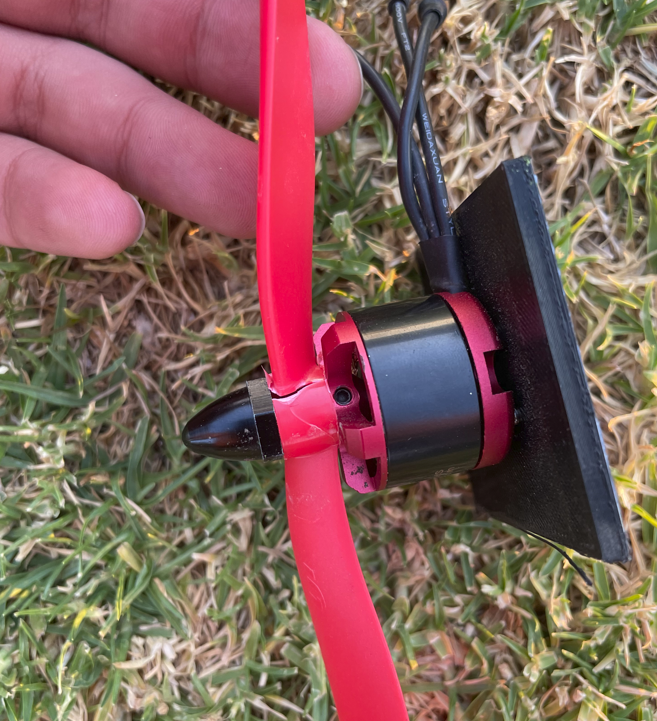
Broken Propeller
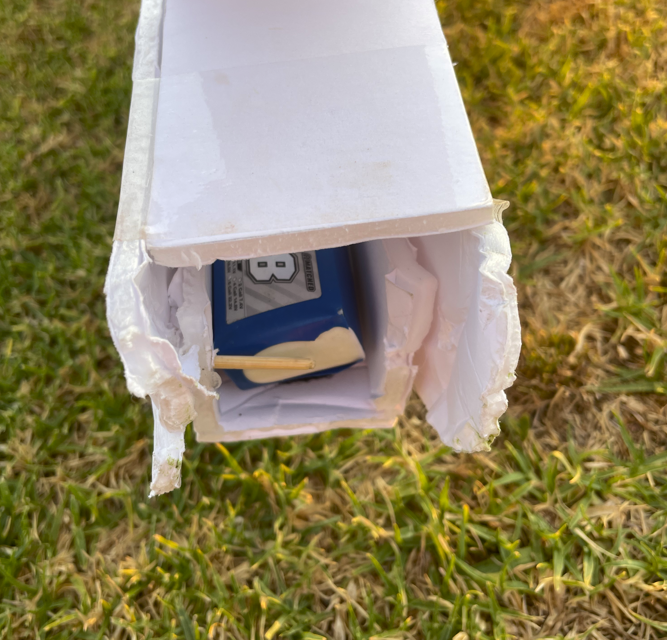
Smashed Front Fuselage

Infill Patterns
Another issue I faced was the strength of the PLA parts, especially the motor mount. When the plane crashes, the motor mount fractures along the infill grain lines. A bit of research led me to try out the cubic subdivision infill pattern over the grid pattern. It not only reduced major slip directions, but it is also slightly lighter. The cubic subdivision infill pattern proved to be a significant improvement and prevented fractures from forming in future crashes.
Flying
Anything But Crash was a fine flyer. I was not. This caused some problems early on, but repeated practices and repairs, both with a simulator and with the actual plane, slowly led to better and more controlled flights. It was thrilling to watch it soar through the sky.


Conclusions
Anything But Crash taught me the intricacies and difficulties of integrating various systems, both mechanical and electrical. From the basic design in CAD, to the material selection process, to manufacturing and wiring, and to flight, I learned to solve design challenges given cost or material limitations. I also practiced root cause analysis in analyzing the causes of aircraft crashes, and it not only led to a better design but also taught me how to better design better aircrafts (and complex systems) in the future. This was an invaluable experience for me to not only explore the thrill of flight but also to develop my engineering skills.
Design Package
CAD Package: https://grabcad.com/library/anything-but-crash-rc-aircraft-by-zehao-rong-1
Blueprint Pages, Bill of Material, and Manufacturing Guide: https://drive.google.com/drive/folders/1ZG8omV7n7WAIoCx12Up-B5H0vUs2zswi?usp=sharing