TiO2 Solar Cell Project
Summer 2021 ~ 2 person collaboration
Overview
Harnessing solar energy is a very important part of our energy future. We are interested in learning more about the material and chemical processes involved in photovoltaic cells as well as evaluating the effectiveness of homemade Dye-Sensitized TiO2 solar cells in power generation.
Traditional solar cells tend to be expensive and industrially produced, but we are interested in seeking a method of solar cell production that is accessible to common consumers.
Dye-Sensitized solar cells are a type of organic solar cells that uses a semiconductor sensitized by a dye substance such as anthocyanin to generate voltage. We can create a semiconductor using commercial conducting glass and titanium dioxide particles, while anthocyanins are found in a wide variety of natural berries, such as blackberries and cherries.
Objectives
- Conduct online research of existing organic solar cells capable of being manufactured primarily using common household consumer items.
- Prototype and create the solar cells.
- Test the effectiveness of the solar cells in artificial and natural lighting situations.
Skills
Electronics: Organic Solar Cells, Basic Circuit Theory
Manufacturing: Heat Treatments
Prototyping: Testing Procedures, Basic Data Collection and Analysis
Other skills: Research, Bill of Materials
Key Tasks
The Bill of Materials and Manufacturing Procedure is based on existing research done by Black Farrow.
Conducting Glass from Adafruit

Iodized Tablets from Walmart

Hibiscus Tea Bags from Walmart
Delicious Raspberries
- Purchased the materials primarily from Walmart. The only exception is the conducting glass, purchased from Adafruit.
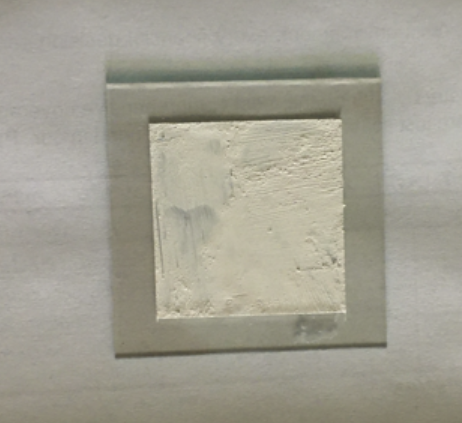
MgO2 Paste Applied to the Conducting Glass
1. Test out which side of the conducting glass is conductive. You can do this by turning the multimeter dial to any resistance measurement. The side with zero resistance is conductive.
2. Create a titanium dioxide (MgO2) paste by mixing titanium dioxide particles with isopropyl alcohol using a glass stirring rod. The paste should initially have very large clumps but gradually turn into a smooth consistency similar to corrector fluids.
3. Soon after the paste has a smooth consistency, apply the paste to the center of the conductive side of one of the conducting glass. The paste should be a thin layer to prevent caking of the paste during the annealing process.
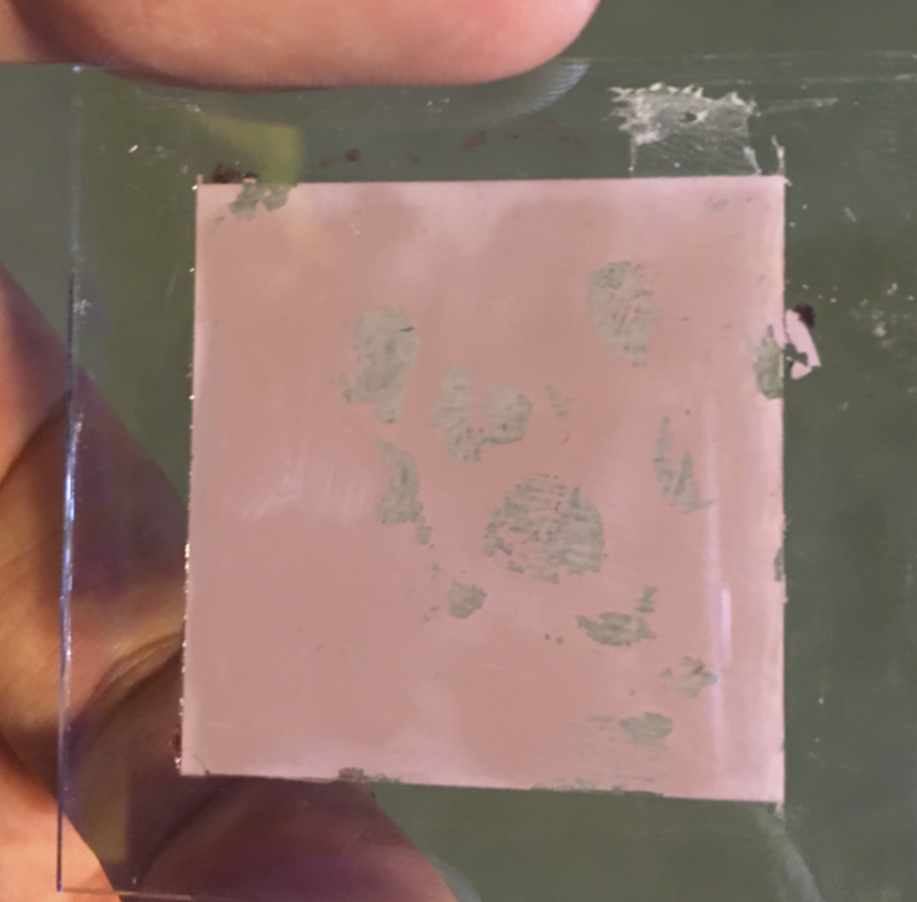
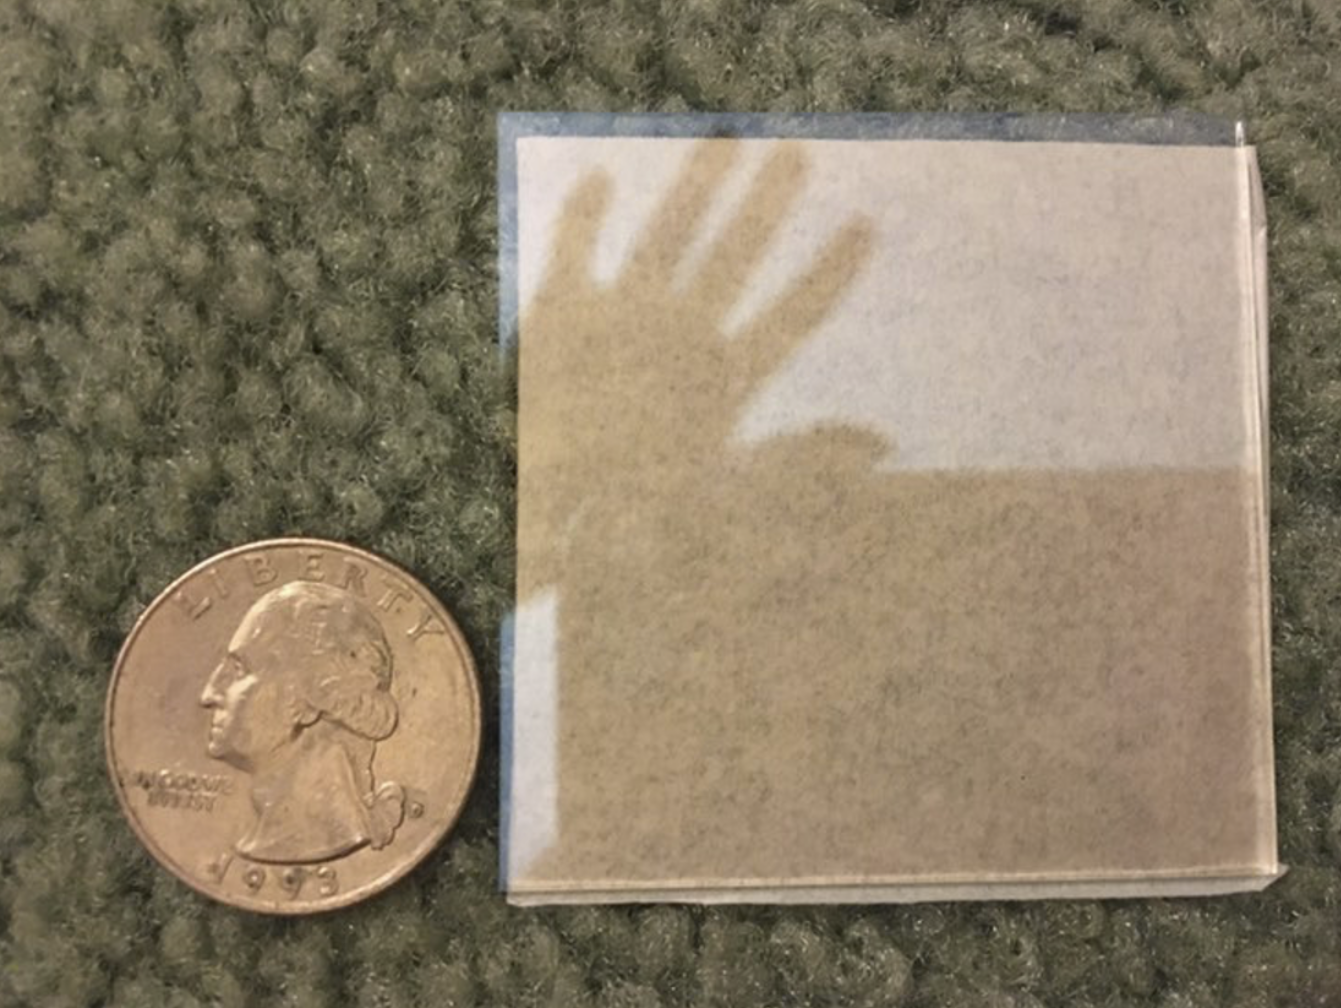
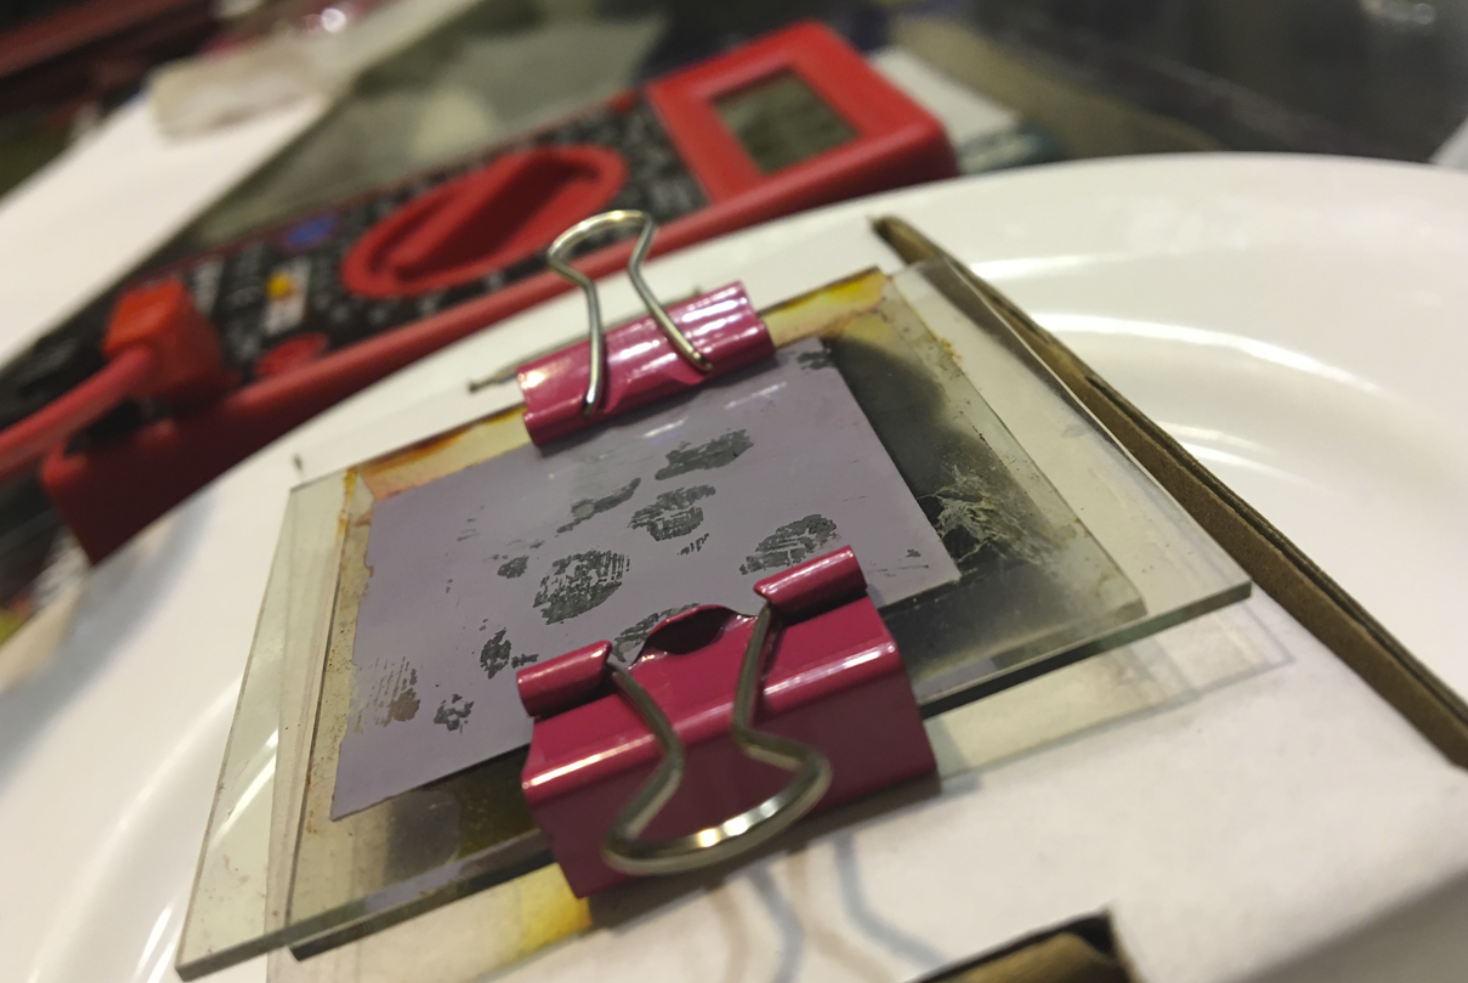
Conducting Glass after being Annealed and Treated with Hibiscus
4. Anneal the paste onto the same conducting glass by baking it in a home conventional oven at 65 degrees C (~150 degrees F) for 4 hours. During the annealing process, the paste browns initially and settles at a white color. The browning marks the conversion of the titanium dioxide into finer titanium dioxide nanoparticles, which are much more conductive.
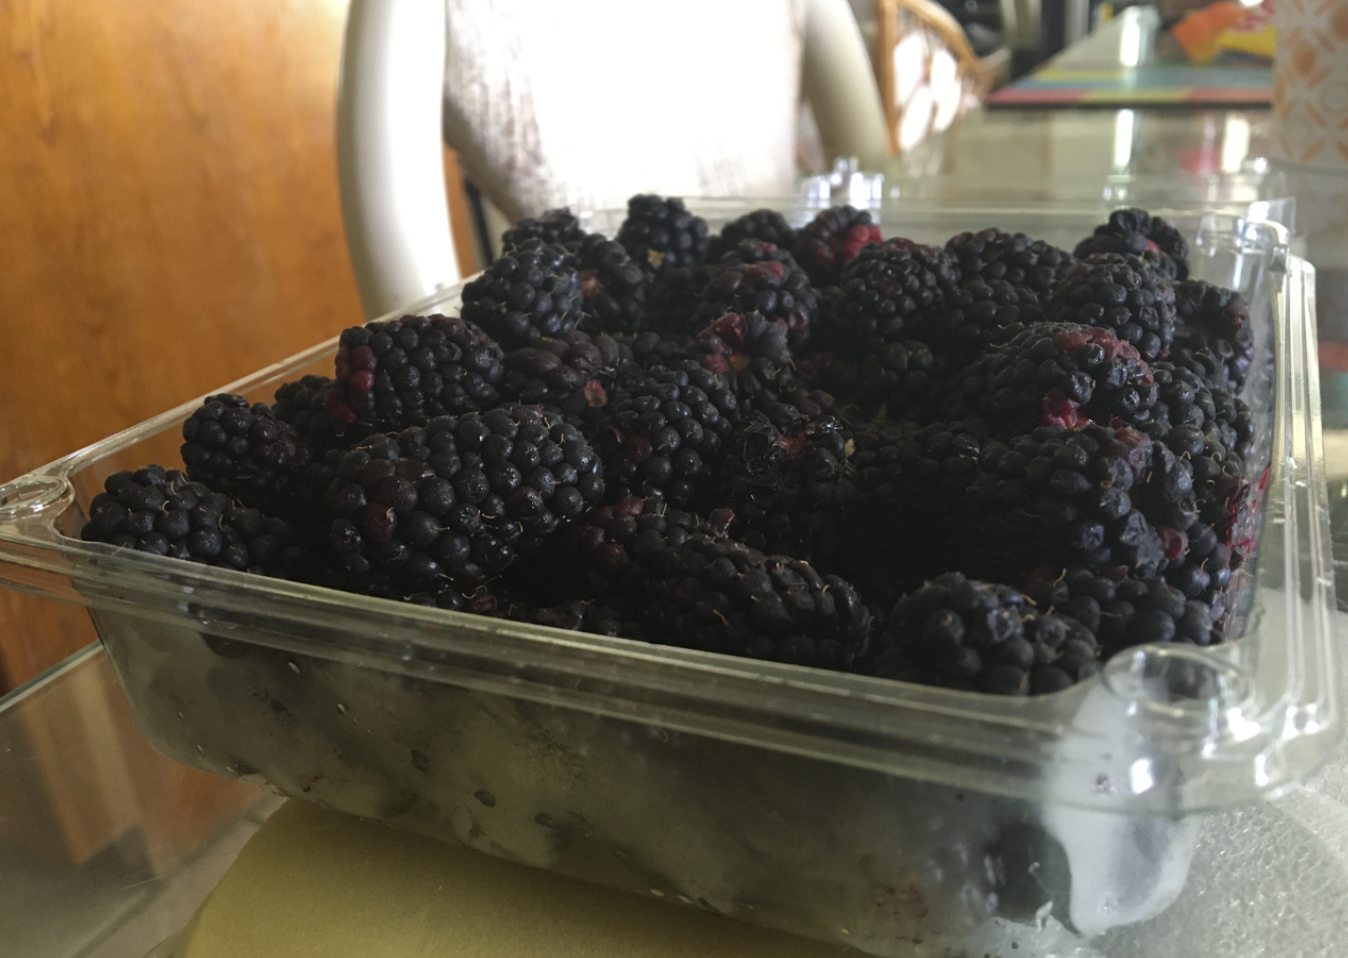
5. Create an anthocyanin mixture either by heating hibiscus tea bags with hot water, or by crushing fresh raspberries. Alternative berries should work similarly, but it is not tested here.
6. Soak the conducting glass in the anthocyanin mixture for 15 minutes, or until the paste gains a pink/purple color.
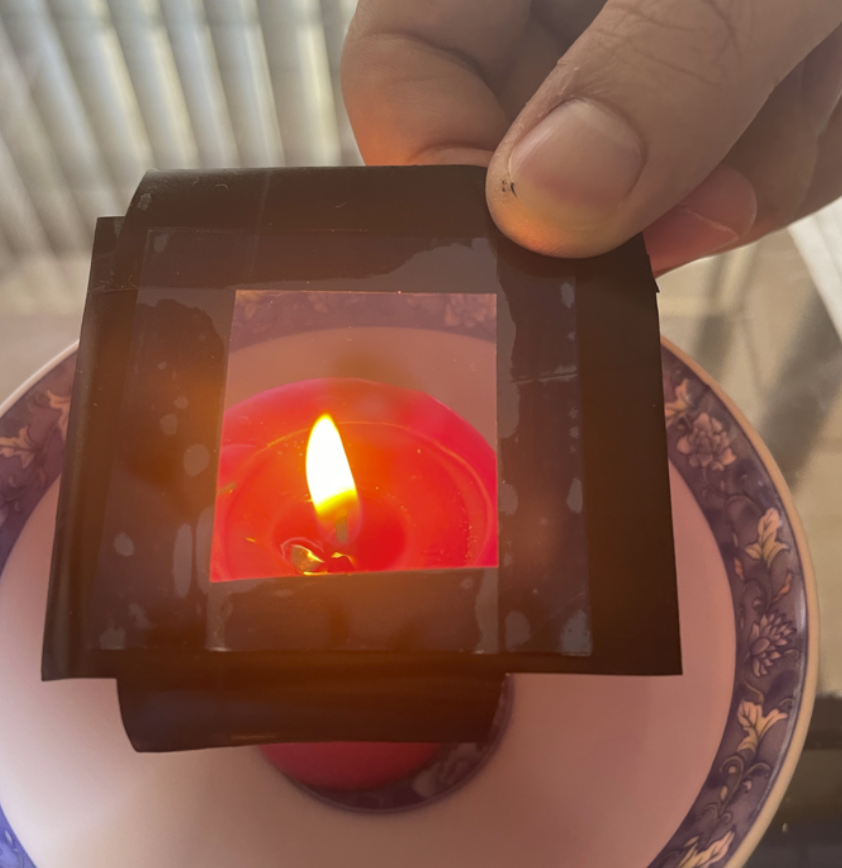
Creating the Anode using Graphite and Soot from Candles
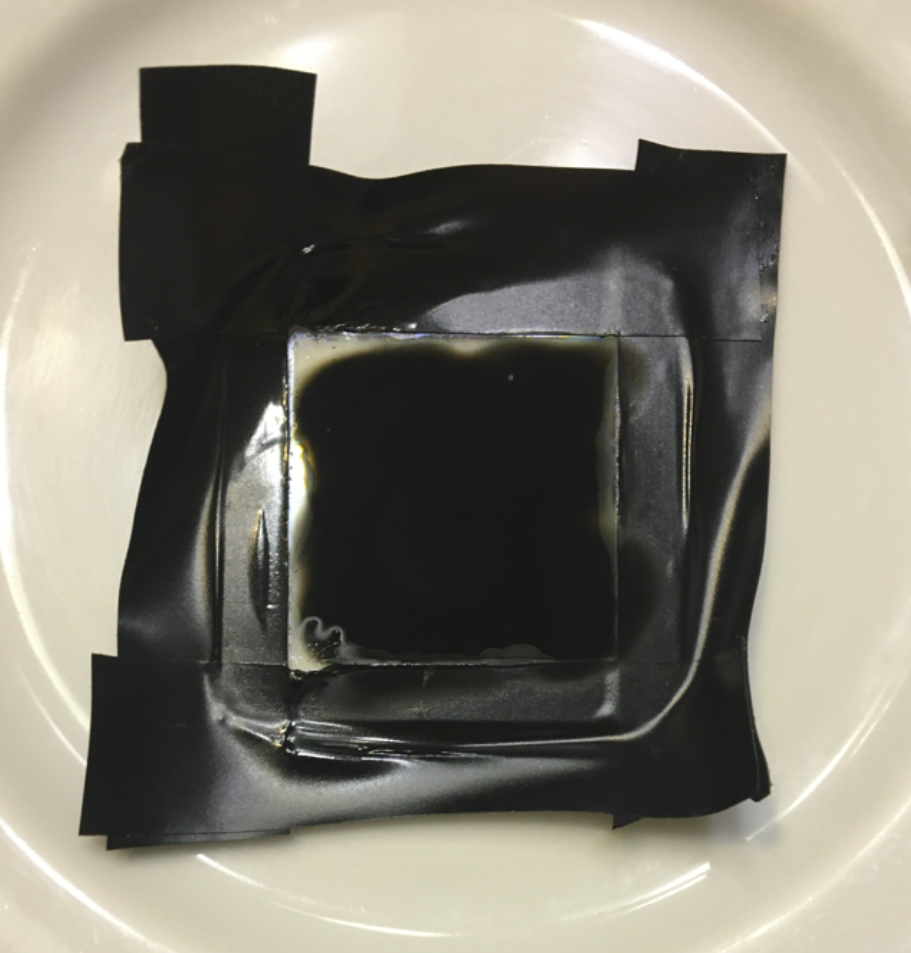
The Finished Anode
7. On another pane of conducting glass, scribble a thin layer of graphite onto the conductive side using a pencil, ideally using a 6B or darker pencil. This helps to establish an anode.
8. On the same conducting glass in step 5, light a candle and set the conducting side of the glass an inch above the candle flame. This deposits soot onto the conducting glass to form an even layer of graphite. Use appropriate heat protective gloves to prevent burns. The conducting glass should be black.
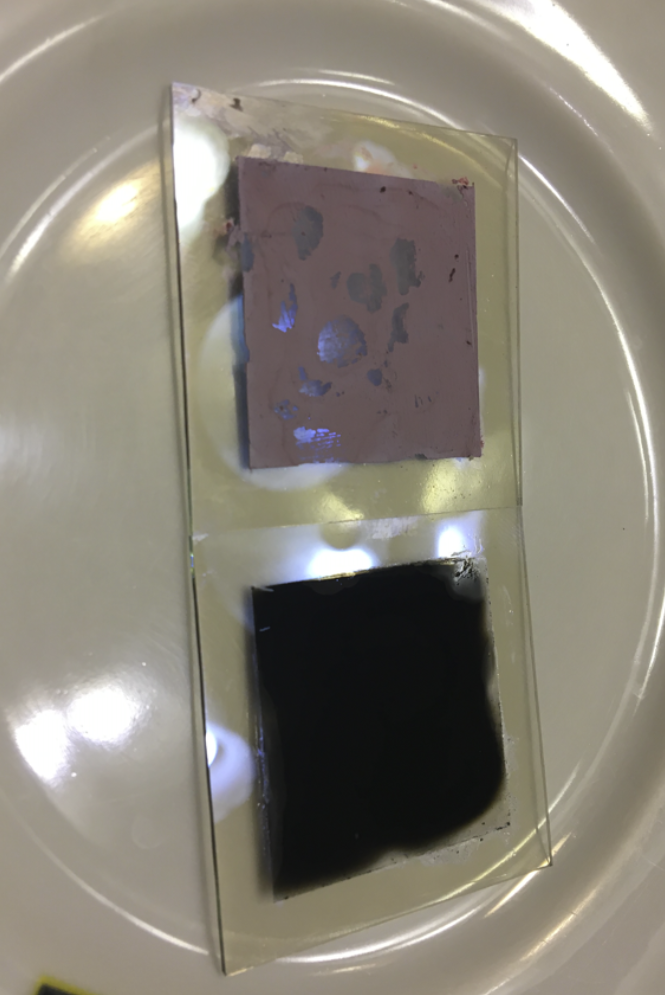
Cathode (top) and Anode (bottom)
Finished TiO2 Solar Cell
9. Mix a small spoon of isopropyl alcohol and 1 iodine tablet until completely the solution is mostly homogenous; a little amount of iodine tablet sediment will remain. Pour the solution onto the conductive side of the annealed titanium dioxide glass pane. This acts as a “salt bridge.”
10. Put the conductive sides of the conducting glass panes together. Leave a centimeter of offset for wire attachment. The solar cell is complete!
Main Challenges
Challenge: Initially, we planned to obtain the TiO2 powder from commercial Hostess white powdered mini donuts. The layer of white particulates on the mini donuts contains a trace amount of TiO2. We planned to scrape off the white powder, filter out the sugar and carbohydrate, and burn off the remains. Theoretically, this should yield TiO2 as the remaining material. However, the process was tedious and required an industrial oven holding the powder at 500 degrees Celsius for 3 hours. An attempt using a home kitchen oven was quickly halted due to visible flames.
Solution: To avoid these issues, we purchased a bag of TiO2 powder directly from Amazon.

Powder Donuts containing TiO2
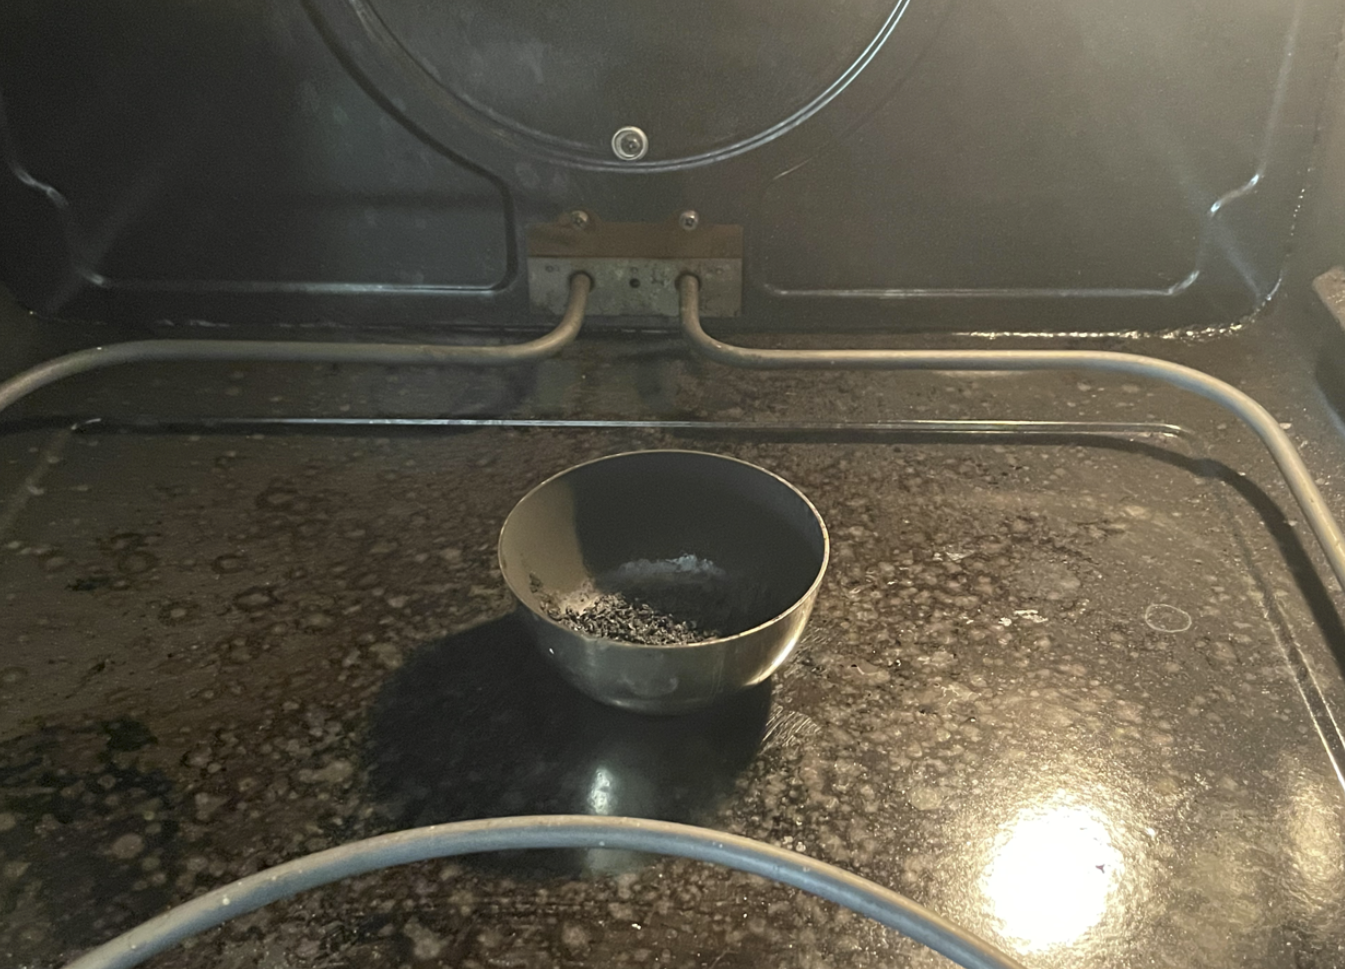
Failed Results from Isolating TiO2 from Donuts
Outcomes
- Under little or no light conditions, 0.6 mV is created.
- Under artificial light (flashlight) conditions, about 18 mV is created.
- Under natural light (sunlight) conditions, about 35 mV is created.
- When 2 cells are connected in series and placed under natural light conditions, about 56 mV is created.
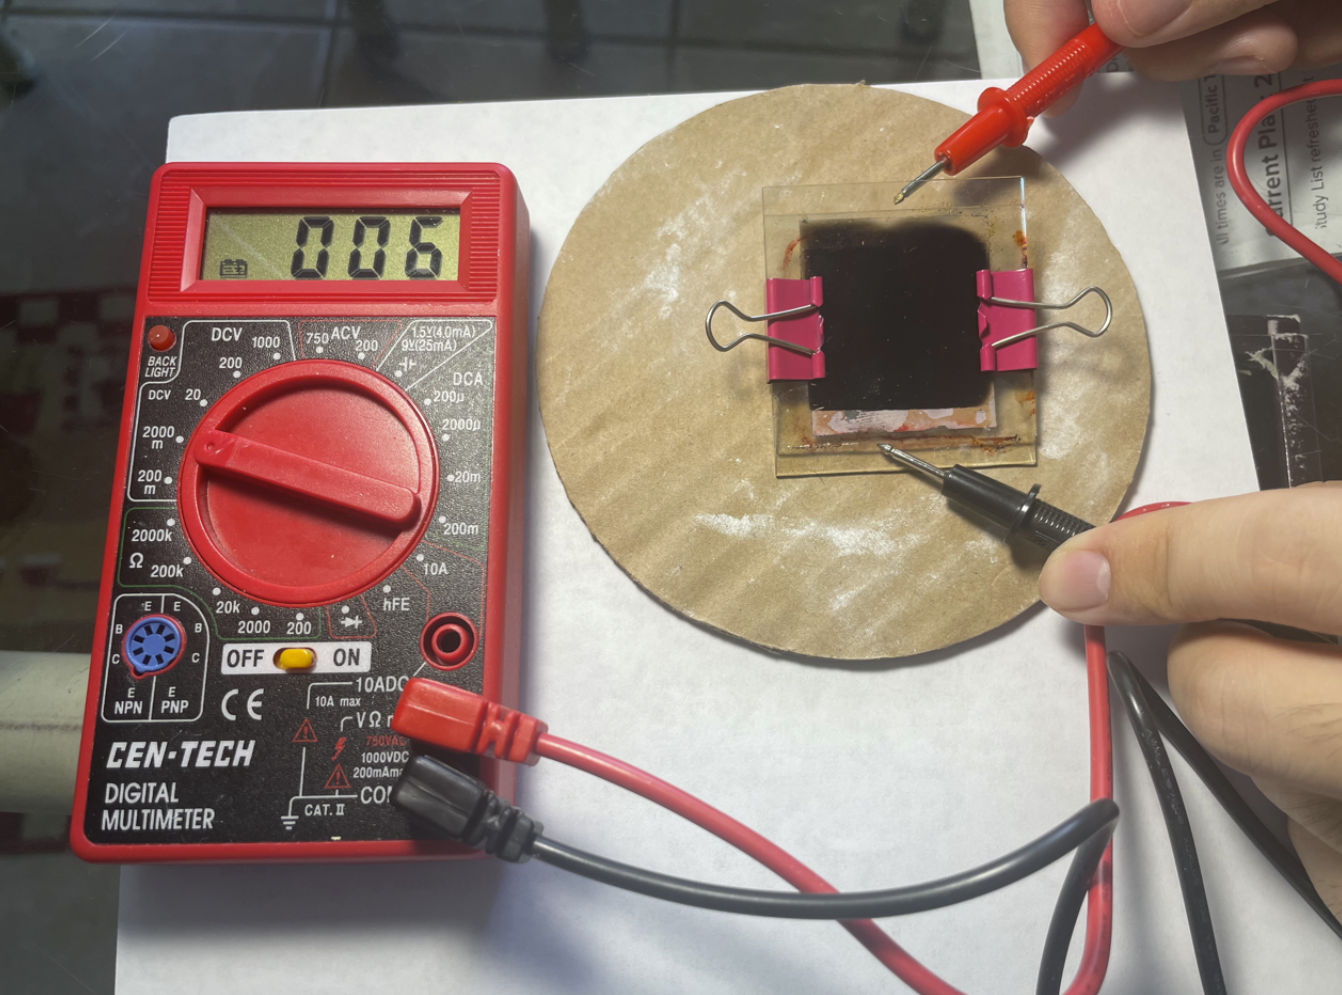
No Light
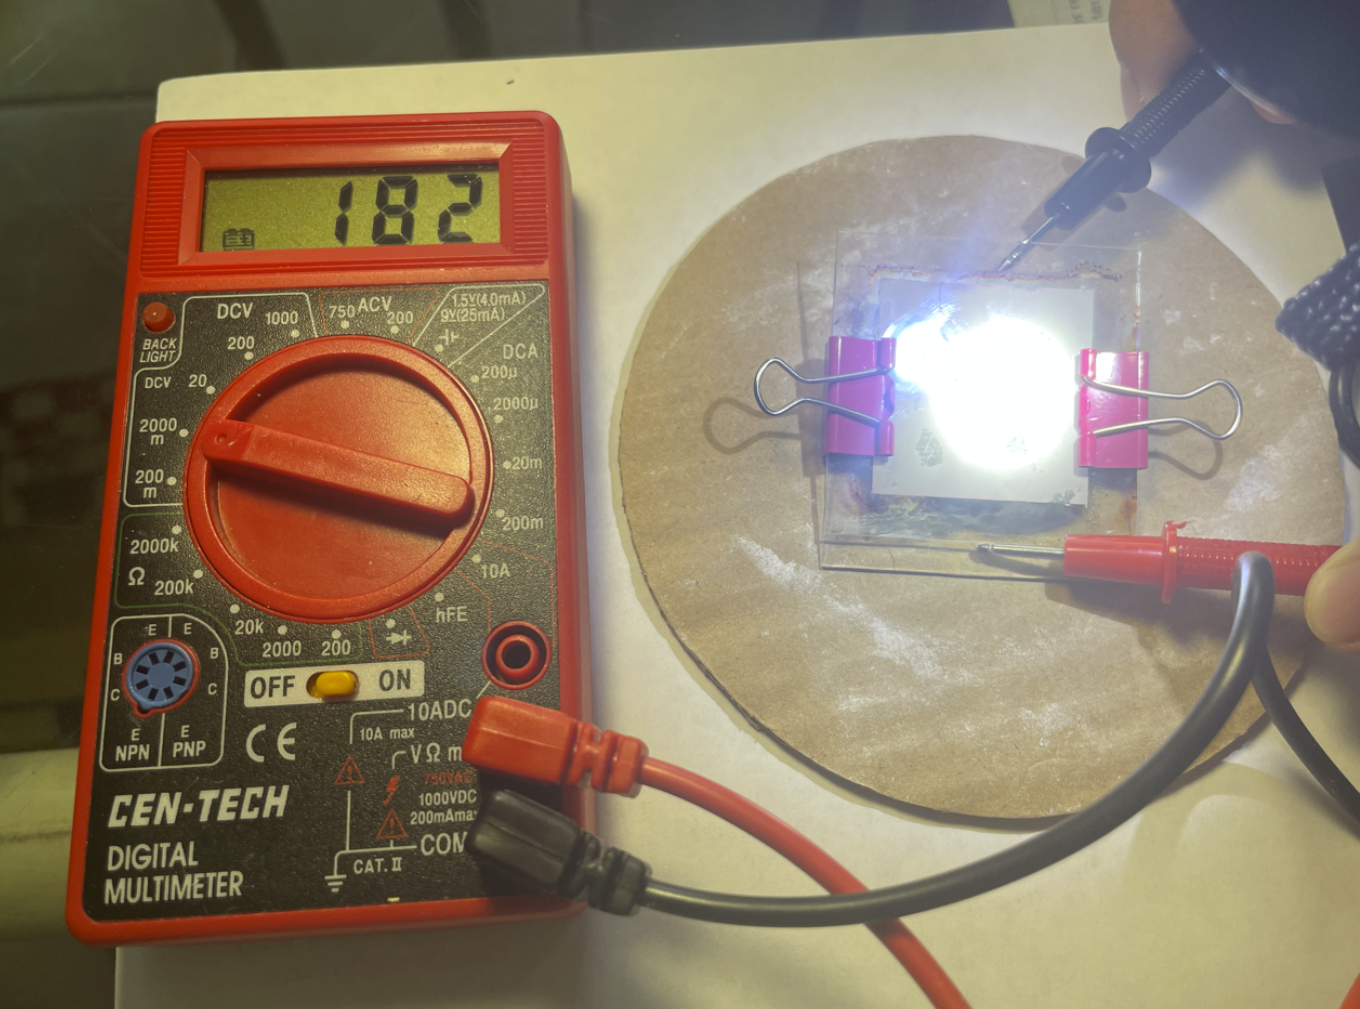
Artificial Light (Flashlight)
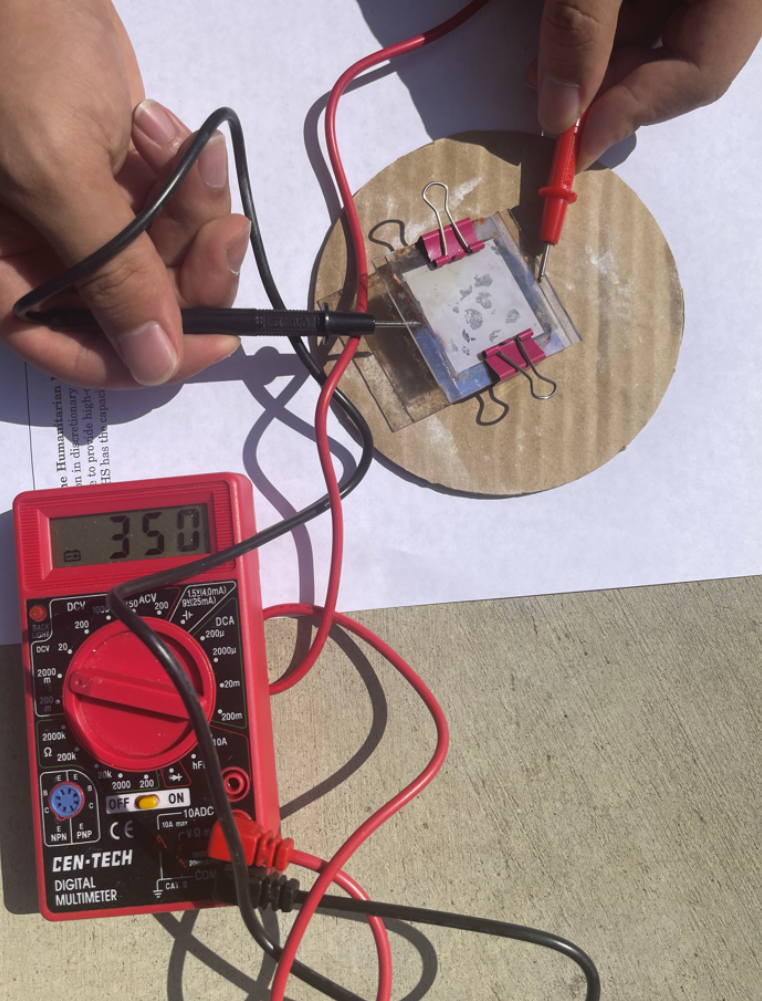
Natural Light (Sunlight)
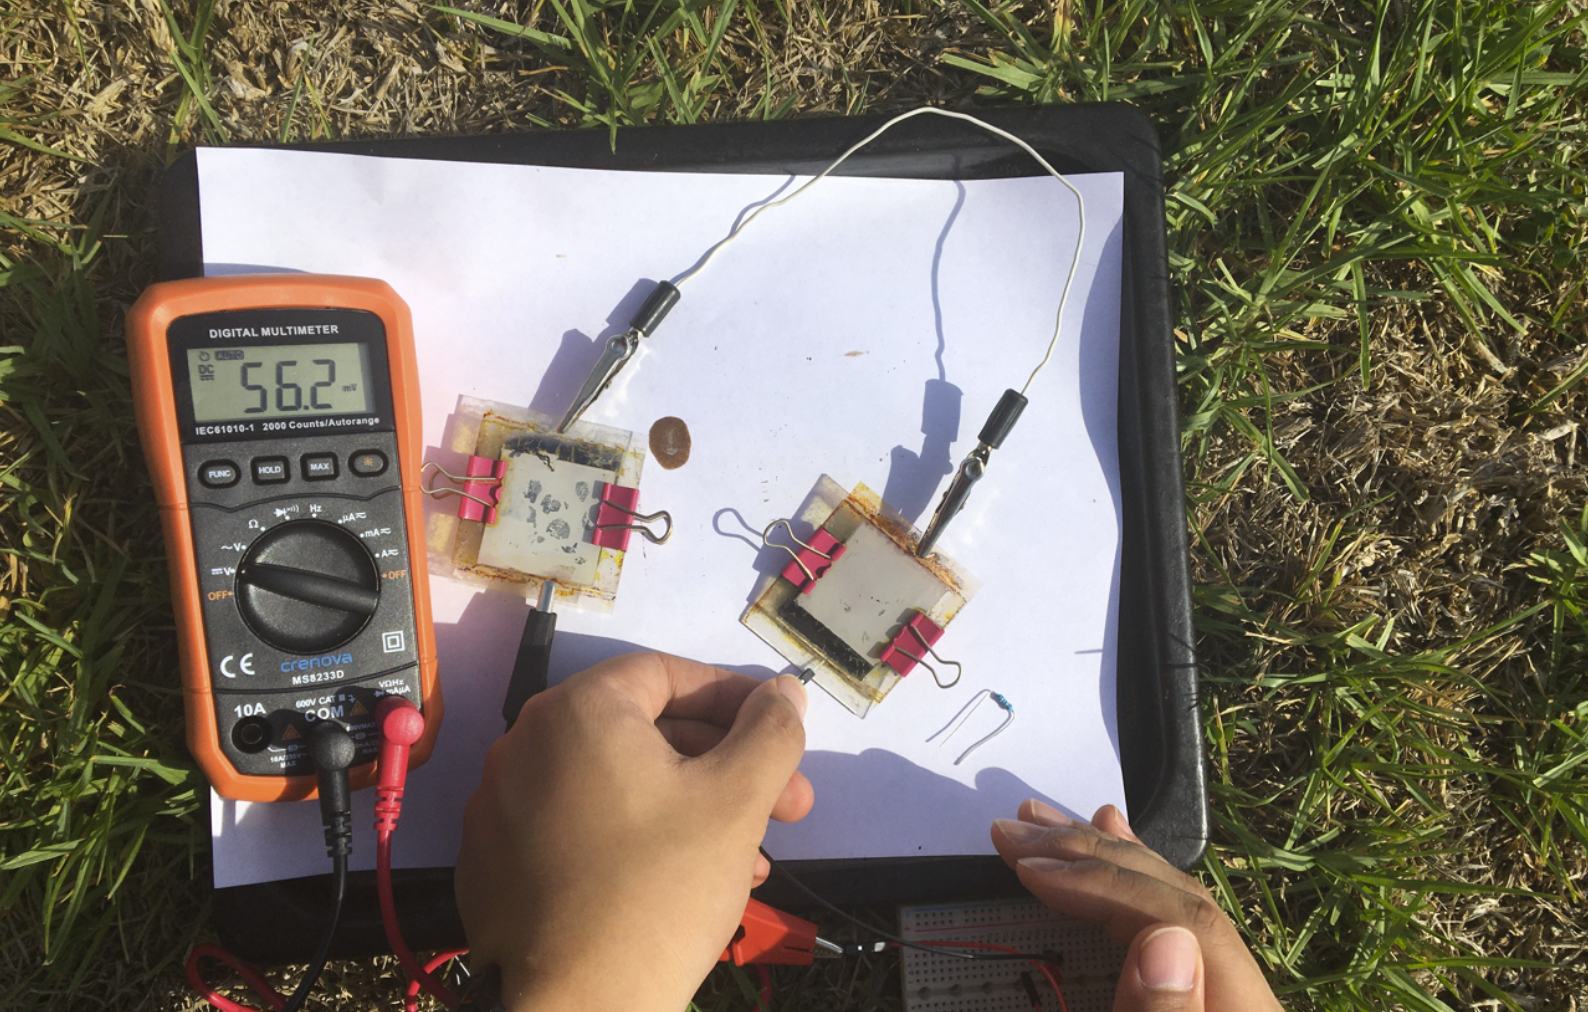
In Series under Natural Light
Discussion
The solar cells showed promises in generating voltages in response to light. However, two 1" x 1" solar cells in series failed to light up an LED light.
There were some observations about the outcomes. First, the solar cell performed much better under natural light compared to artificial light, which were consistent to other types of solar cells. Second, connecting two solar cells in series does not double the output voltage. This suggested that there was significant internal resistance within the solar cells.
Several improvements were available. First, MgO2 nanoparticles, typically used in researching organic solar cells, would perform better than the normal MgO2 particles we used. MgO2 nanoparticles are commercially available but cost around 100x more. The process to isolate MgO2 nanoparticles require industry-grade ovens.
We also observed that the solar cell performed best when fresh iodine solutions were added, and their performance decreased over time as iodine solutions dried or evaporated. Therefore, an effective iodine trapping mechanism, either mechanical or chemical, would help sustain a high level of performance.
The graphite-based anode also limited generation. Especially with our rudimentary and inconsistent way of capture graphite (pencils and candles), the results are overall poor. An even and pure graphite slab would produce much better results. While the results of the Dye-Sensitized TiO2 Solar Cell Experiment were limiting, both Josh and I learned a lot about the creation and use of solar cells, and we gained a deeper appreciation of their manufacturing processes.